Getting to Know UnigineEditor
You’ll create and edit virtual worlds for UNIGINE applications in an editor called UnigineEditor. It uses the concept of assets and offers all the necessary functionality for viewing and modifying virtual worlds. In UnigineEditor, you can easily add, transform, and edit built-in objects, materials, and other elements while also adjusting their parameters and global settings.
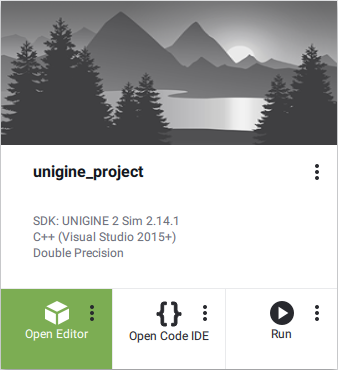
To launch UnigineEditor for your project find it on the My Projects tab in SDK Browser and click Open Editor:
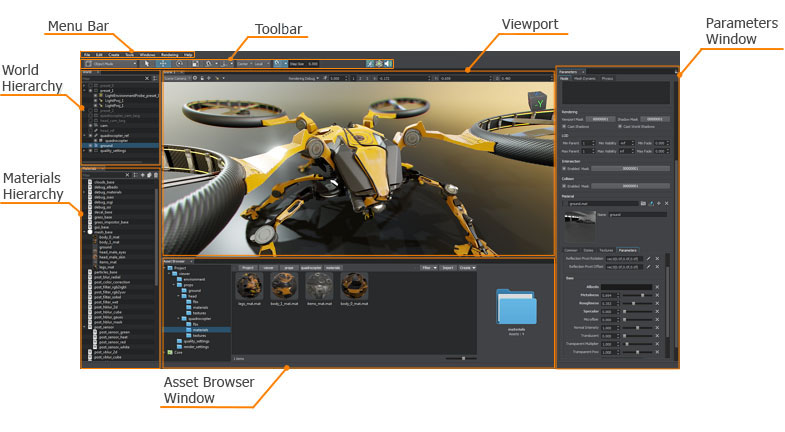
The main window of UnigineEditor consists of tabbed windows that can be easily rearranged, grouped, detached, and pinned. The layout of the user interface can be customized to suit your preferences or specific work requirements. The default layout, which is shown below, provides quick access to the most commonly used windows.
A brief description of the main windows:
| Main Menu | |
|---|---|
|
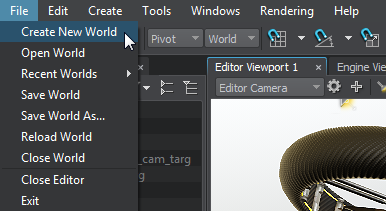
Provides access to common panels and commands that are used when creating virtual worlds. It has a set of options that allow you to:
|
|
| Toolbar | |
|
The toolbar provides access to the most commonly used work functions:
|
|
| Asset Browser | |
|
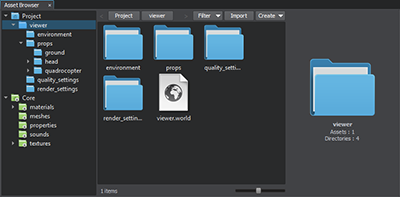
A tool used to organize content in your project. The Asset system maintains all relationships and dependencies between resources when you edit, rename, or move them within a project. It allows you to:
|
|
| World Hierarchy | |
|
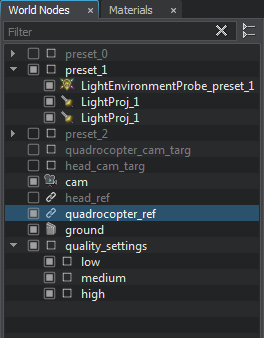
The World Nodes window is a convenient tool for working with the hierarchy of objects present in the scene. It allows you to:
|
|
| Materials Hierarchy | |
|
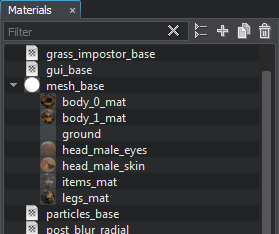
The Materials window is used to organize and modify UNIGINE materials. It allows you to:
|
|
| Properties Hierarchy | |
|
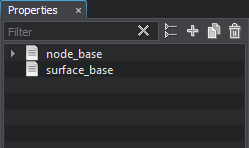
The Properties window is used to modify and organize properties (sets of configurable parameters) and components. It allows you to:
|
|
Scene Navigation#
UnigineEditor has a set of controls used to move around the scene and control the camera behavior, they can be found in the Controls section of the Settings window.
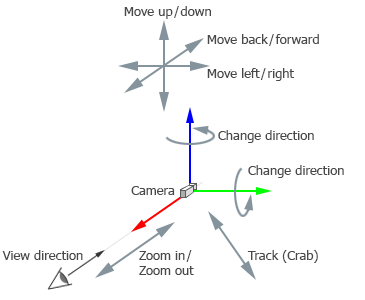
You can freely move around the scene: move the camera, change the direction (horizontally and vertically), move the camera in a plane perpendicular to the view direction, and zoom in/out.
Movements can also be linked to a reference point, which can be set by focusing the camera on a selected object or group of objects. In this case, you can rotate the camera and control zooming in/out relative to the current focus (when the focus is off, the reference point coincides with the camera position).
In addition to common terms (e.g. Move Left, Move Up, etc.), the following terms are used in the Editor:
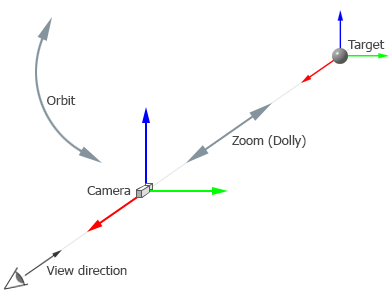
- Pivot means to change the yaw/pitch angle to rotate the camera around the vertical/horizontal axis respectively.
- Tracking (Crab) means moving the camera in a plane perpendicular to the direction of view.
- Orbit means rotation around the target point.
- Zoom (Dolly) means bringing the camera closer to or away from the target point so that the camera cannot continue zooming when it reaches the target point.
The basic navigation controls in the editor are shown below:
|
Navigation controls used to move the camera freely around the scene |
Additional navigation controls used to move the camera relative to the focus point |
To focus the camera on the selected object (group of objects), press F, and to de-focus the camera, press G.
When you focus the camera on a group of subjects, you must set the pivot point (see the pivot point switch) in the main menu:
-
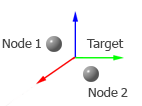
If you select Center (
 ), the pivot point will be set to the center of the selection.
-
If you select Pivot (
 ), the reference point will be set to the last selected object (Node 2 in the figure).
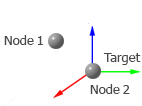 The Pivot button is active; Node 2 is the last selected node
When you focus the camera on an object (or group of objects), the reference point will be set to the center of the object (or group).
Moving the camera#
You can use the following default controls to move the camera around the scene:
| Combination | Description |
|---|---|
| RMB + Drag |
Change the camera direction.
|
| RMB + W | Moving the camera forward. |
| RMB + S | Moving the camera backwards. |
| RMB + A | Moving the camera to the left. |
| RMB + D | Moving the camera to the right. |
| RMB + Q | Moving the camera down. |
| RMB + E | Moving the camera up. |
| Alt + MMB + Drag | Moving the camera in a plane perpendicular to the direction of view (Crab). |
| Alt + LMB + Drag | Rotating the camera around the focus point. |
You can also change the position of the camera by setting its coordinates via the Editor Viewport navigation bar as follows:

The following controls are used to zoom in/out of the camera:
| Combination | Description |
|---|---|
| Scroll Up |
Drawing closer. |
| Scroll Down |
Moving away. |
| Alt + RMB + Drag |
Moving the camera closer to / farther from the tagret point (dolly). |
Changing speed and using multiple cameras#
There are 3 camera speed modes. You can switch between them via the navigation bar (or using the 1, 2 and 3 keys). You can also change the speed value set for the selected speed mode. For example, you can change the value of Speed Mode 1 in the following window:

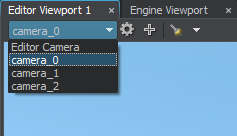
If there are multiple cameras in the world, you can switch between the respective viewpoints via the Camera dropdown in the viewport window.
The information on this page is valid for UNIGINE 2.20 SDK.
