AmbientMapper
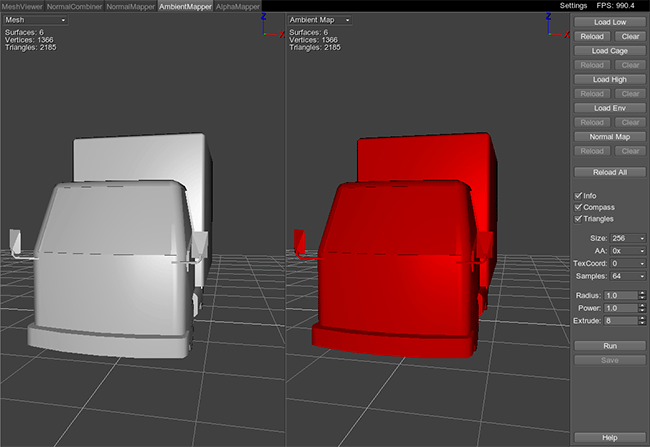
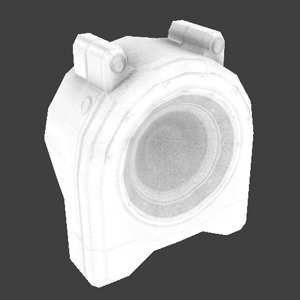
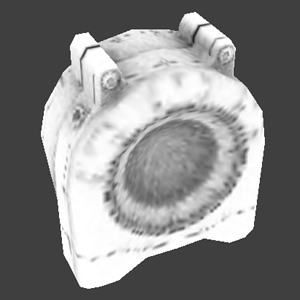
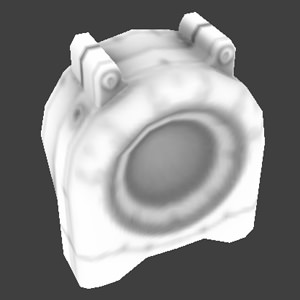
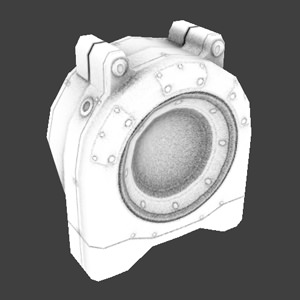
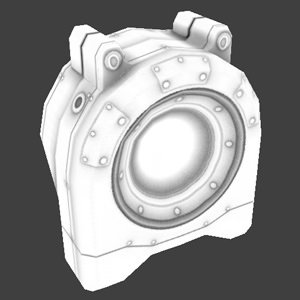
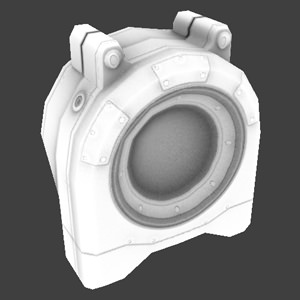
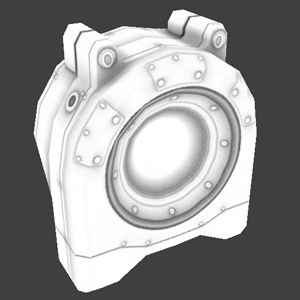
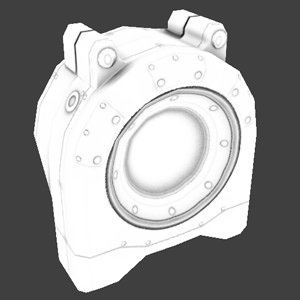
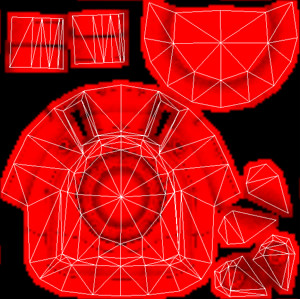
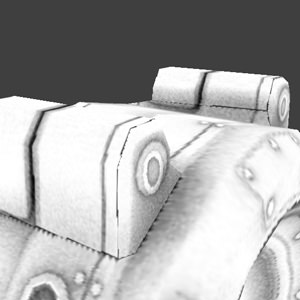
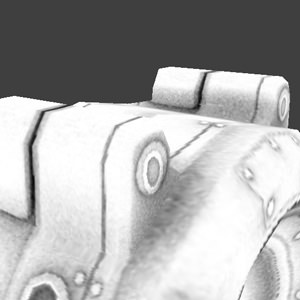
AmbientMapper is used to generate ambient occlusion maps for low-poly meshes. It calculates self-shadowing from omni directional "sky light" as well as occlusion and attenuation of light by nearby geometry, and bakes it into the texture to adds realistic shading to the model.
Usage#
To create an ambient occlusion map, do the following:
- Load a low-poly mesh for which ambient occlusion will be calculated by clicking Load Low.
- Load a reference high-poly mesh by clicking Load High. This step is optional. If a high-poly mesh is loaded, it will be used to calculate an ambient occlusion for the low-poly mesh.
- Switch to Ambient Map in one of the viewing panes.
- If necessary, load a cage mesh by clicking Load Cage.
- If necessary, load an environment mesh by clicking Load Env.
- Set ambient occlusion options at the right side of the window.
- Click Run to start calculation.
- When ambient map calculation is completed, click Save.
Display Modes#
AmbientMapper has two viewing panes. The display mode can be switched in the drop-down list in the upper left corner of each pane:

|
|
File Options#
The set of file options present at the right side of the window:
| Load Low | Load a low-poly mesh for which an ambient occlusion map will be created.
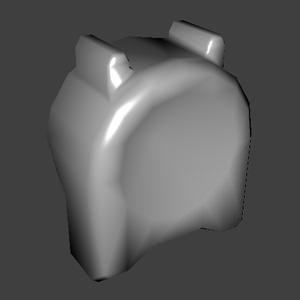
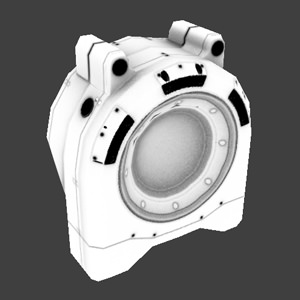
Low-poly Mesh
Notice
You can also load a low-poly mesh by pressing Ctrl+O. |
||||||||
|---|---|---|---|---|---|---|---|---|---|
| Load High | Load a high-poly mesh basing on which an ambient occlusion map will be baked.
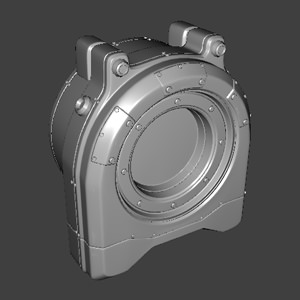
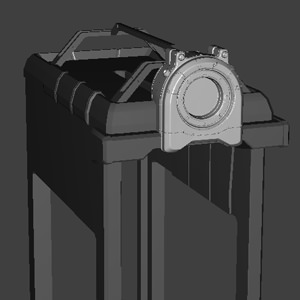
High-poly mesh
Notice
You can also load a high-poly mesh by pressing Ctrl+H. |
||||||||
| Load Cage | Load a cage mesh. This mesh allows cleaner baking of the ambient occlusion map.
Without a cage, the rays are cast from the low-poly mesh to the high-poly one (in both directions along the normals of a low-poly). It is done to determine what point of a high-poly mesh (full geometry of which allows to calculate proper ambient occlusion) corresponds to a low-poly mesh point. Whatever point is intersected first, it gets to be baked into the map. However, if there are complex geometry details in the high-poly model or overlapping surfaces, the first met point may not be a proper one! Instead of baking an outer surface, an underneath one that is closest to the low-poly mesh will be baked into a map. A cage allows to avoid such situations. When loaded, the rays are traced from it rather then from a low-poly.
Notice
You can also load the cage mesh by pressing Ctrl+C. |
||||||||
| Load Env | Load an environment mesh. This option allows you to load additional geometry that will occlude light for the source mesh and shadow it. For environment mesh itself ambient occlusion is not calculated.
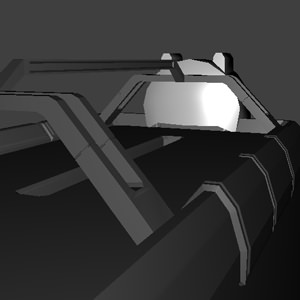
Environment mesh
For example, if an occluded mesh is a part of some construction, the latter can be is loaded as an environment mesh. Here you can see that the mesh is adjacent to a bigger framework. With this option, the mesh backside will be shadowed.
Notice
You can also load the environment mesh by pressing Ctrl+E. |
||||||||
| Normal Map | Normal map allows to calculate ambient occlusion without a high-poly mesh. It uses normals from the map to calculate how the light would fall onto the mesh.
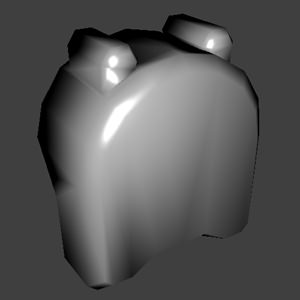
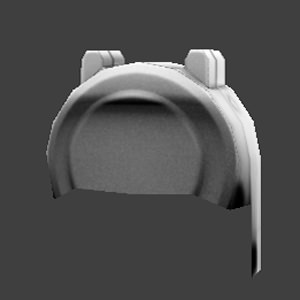
AO calculated using only a normal map
Notice
You can also load the environment mesh by pressing Ctrl+N. |
||||||||
| Reload All | Reload all loaded resources.
Notice
You can also reload resources by pressing Ctrl+R. |
||||||||
| Run | Perform the ambient occlusion calculations. The result applied to the model can be seen in the Ambient Map mode. | ||||||||
| Save | Save the calculated ambient occlusion map into the texture. See supported formats into which the texture can be saved.
Notice
You can also save the mesh by pressing Ctrl+S. |
Visualization Options#
The set of visualization options:
| Info | Display information about the mesh that is currently in the viewport. Such data is shown as number of surfaces, vertices and triangles.
Notice
You can also enable the option by pressing I. |
|---|---|
| Compass | Toggle an XYZ compass in the upper right corner of the viewport.
Notice
You can also enable the option by pressing C. |
| Triangles | Toggles showing a base grid plane.
Notice
You can also enable the option by pressing T. |
Ambient Occlusion Options#
The set of ambient occlusion options:
| Size | Size of the output ambient map. | ||||
|---|---|---|---|---|---|
| AA | Anti-aliasing mode for the output ambient map. If used, it consumes additional memory.
|
||||
| TexCoord | UV channel to store the ambient map in. To store the map in the second UV channel, the model should have been exported accordingly. | ||||
| Samples | The number of sampling light rays traced from each point of the mesh to calculate ambient occlusion. If a ray hits some geometry, it meas that the light is occluded and therefore the tested point should be shadowed. The more rays return occluded, the darker the resulting shadowing will be.
|
||||
| Radius | Distance to trace the light rays to. To be exact, this is a radius for the hemisphere, within which the number of sampling light rays are traced in random directions.
|
||||
| Power | The power of ambient occlusion term. The higher the value, the brighter the resulting ambient occlusion will be.
|
||||
| Extrude | Extrusion in pixels. This option adds colored pixels around the contour of each UV shell. The color value is simply copied from the nearby pixel. It allows to get rid of possible darkening where seams meet.
Extrusion
|
Supported File Formats#
Supported formats of geometry data:
- Unigine mesh (.mesh)
- Unigine skinned mesh (.smesh)
- Wavefront (.obj)
- COLLADA (.dae)
Supported formats of textures:
- Targa (.tga)
- Portable Network Graphics (.png)
- JPEG (.jpg)
- Photoshop Document (.psd)
- Direct Draw Surface (.dds)
- Portable Pixmap (.ppm)
- Portable Graymap (.pgm)
- High Dynamic Range (.hdr)
- Silicon Graphics Image (.sgi)
Hot Keys#
- Ctrl+O — load a low-poly mesh.
- Ctrl+H — load a high-poly mesh.
- Ctrl+C — load a cage mesh.
- Ctrl+E — load an environment mesh.
- Ctrl+N — load a normal map.
- Ctrl+R — reload all resources.
- Ctrl+S — save the ambient map.
- I — toggle mesh info.
- C — toggle a XYZ compass.
- T — toggle base grid.
- G — reset pivot from the mesh to the camera.
