Environment
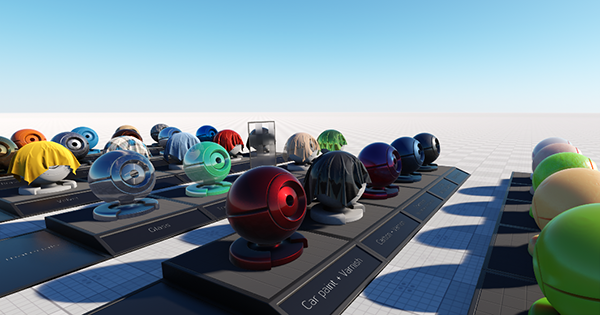
This section describes settings that control environment of the scene (scattering, haze, etc.). You can create some presets and smoothly combine them by specifying the intensity of a preset thus producing new environments.
Environment Presets#
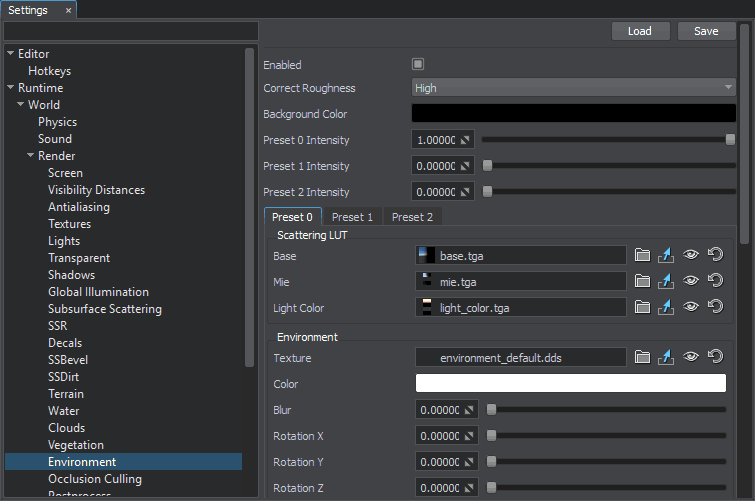
The environment cubemap is tweaked in the Rendering panel -> Environment tab. The scattering can have up to 3 separate settings presets that can be blended by the Preset intensity scroll bars.

Presets work as layers: the first preset will overlay the zero one, the second will overlay the first and the zero ones. For example, you can set the zero preset for the clean and clear sky, set the first preset for the cloudy sky and lerp them smoothly.
Scattering LUT Settings#
All the presets settings are identical. The scattering versatility is achieved mostly because of the scattering LUT textures.

Base#
A 2D texture defining the base color of the sky. The texture means the following:
- Left to right: the position of the Sun above the surface (time of day).
- Top to down: the gradient of the Sun.
At the example below, when the Sun's angle is 90 degrees (right in the middle of gradient), the sky's top is blue, the horizon is yellow, the sky below the horizon is brown.

Mie#
A 2D texture (for both the Sun and the Moon) for setting the Mie light (the color of the light around the Sun).

Light Color#
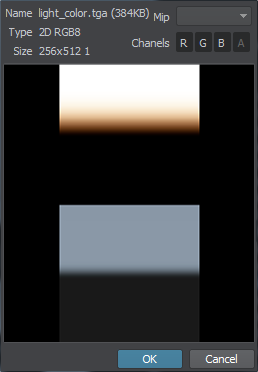
A 2D texture defining the color of the LightWorld for different times of day. The texture means the following:
- Top to down: the WorldLight's angle of slope.
Left to right texture direction doesn't matter, so you can use the texture 1×512 (width to height) pixels in size.
Environment Settings#
Environment settings are required for creating environment by means of panorama (cubemap).

| Texture | A cube map defining the environment image; for example, HDRI environment map or sky dome. |
|---|---|
| Color | The environment color multiplier, where alpha defines the visibility of a cubemap above scattering. This parameter is required when you need to display a sky with a photo texture and dynamic gradients at the same time. |
| Blur | A value defining blurring of the environment. |
| Rotation X | The rotation angle of the environment cubemap around the X axis. |
| Rotation Y | The rotation angle of the environment cubemap around the Y axis. |
| Rotation Z | The rotation angle of the environment cubemap around the Z axis. |
| Blend Mode | The blending mode of the environment texture and the color of the scattering LUT. |
Haze Settings#

This group of parameters set the atmosphere haze. It automatically uses the color from the scattering LUTs, so objects smoothly fade into the distance without any artifacts.

| Mode | Mode of haze rendering. The following values are available:
Notice
You can also use the render_environment_haze console command to specify the rendering mode for the haze. |
||
|---|---|---|---|
| Gradient Mode | Gradient mode of the haze. By using this option, you can make the haze look more realistic for a specific distance range. The following values are available:
Notice
You can also use the render_environment_haze_gradient console command to specify the gradient mode. |
||
| Color | The color of the haze. This value can be specified for both the Solid and Scattering haze modes: in the first case, the color will be used as is, in the second case, the color will be blended with the color from the sky LUTs.
|
||
| Max distance | The distance starting at which the haze becomes completely solid, so nothing will be seen behind. For large terrains it is recommended to set this parameter equal to your camera's Far parameter. This is required for distant objects to fade into the distance instead of being cut sharply. | ||
| Density | The density of the haze. |
Physically Based Haze Calculation Parameters#
This group of parameters is used for physically based calculation of the haze gradient.
In most cases there is no need to adjust default haze settings here. However, if you want to change haze color (e.g., make it a bit more bluish) we recommend you doing it via the Color multiplier above. instead of tweaking Color Saturation for sunlight and ambient lighting. As this may cause problems with colors at sunset.

| Half Visibility Distance | Distance at which the visibility comprises 50%. There is no zero-visibility in the real world, so the half-visibility boundary is used to adjust haze distance. |
|---|---|
| Half Faloff Height | Height of the haze density gradient. The higher the value, the longer the haze desity reduces as the height grows, making the transition between the clear sky and haze smoother. |
| Start Height | Reference height value for the two parameters above (Half Visibility Distance and Half Faloff Height). |
| Ambient Light Intensity | Intensity of the impact of ambient lighting on haze (how much ambient lighting affects the haze). |
| Ambient Color Saturation | Intensity of the ambient color's contribution to the haze (how much the haze color is affected). |
| Sun Light Intensity | Intensity of the impact of the sunlight on haze (how much the sunlight affects the haze). |
| Sun Color Saturation | Intensity of the sunlight color's contribution to the haze (how much the haze color is affected).
Notice
"Sunlight color" here does not simply mean the color multiplier of the WorldLight source, but rather the Light Color in the Scattering LUT section above. |
Intensity Settings#

| Ambient | Intensity of the environment ambient lighting for the given preset. 0 value means no environment ambient lighting for the given preset. The higher the value, the more ambient lighting affects environment. The value can be greater than 1.0 (useful for some dark scenes). |
|---|---|
| Reflection | Intensity of the environment reflection for the given preset. 0 value means no environment reflection for the given preset. |
| Sky | Intensity of the environment sky for the given preset. 0 value means no environment sky for the given preset. If, for example, the sky looks too dark in contrast with lighting from it, you should check exposure and tone mapping settings before changing the environment intensity. |
Celestial Bodies Settings#
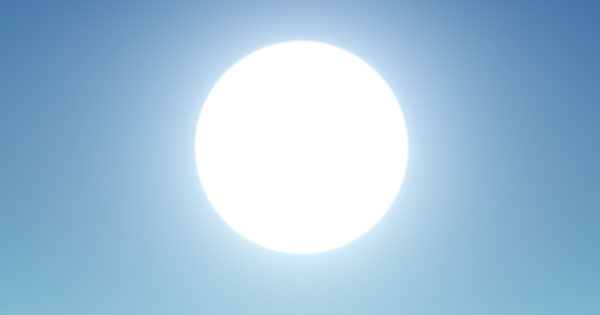
This group of parameters allows setting up the notable celestial bodies: the Sun and the Moon. By using these parameters, you can set the Sun and the Moon by using textures, adjust its intensity and color multipliers, specify the angular size of the celestial bodies. By default, values of the parameters are set for an observer on the Earth.
| Sun | A texture that sets the Sun in the sky. On the picture below, the Sun Size is increased to demonstrate how the textures are applied: | ||||
|---|---|---|---|---|---|
| Moon | A texture that sets the Moon in the sky. On the picture below, Moon Size and Moon Intensity are increased to demonstrate how the textures are applied: | ||||
| Sun Color | Color multiplier for the Sun texture in the RGBA format. By default, the color is white.
|
||||
| Moon Color | Color multiplier for the Moon texture in the RGBA format. By default, the color is white.
|
||||
| Sun Size | Angular size of the Sun in degrees. The value is set for an observer on the Earth. By default, the size of the Sun is 0.5 degrees as seen from the Earth. | ||||
| Moon Size | Angular size of the Moon in degrees. The value is set for an observer on the Earth. By default, the size of the Moon is 0.5 degrees as seen from the Earth. | ||||
| Sun Intensity | Intensity multiplier for the Sun texture. It allows increasing/reducing brightness of the Sun. | ||||
| Moon Intensity | Intensity multiplier for the Moon texture. It allows increasing/reducing brightness of the Moon. |
