Normalize Node

Description
This node is used to normalize an input vector, ensuring that it has a length of exactly 1 while maintaining its original direction. Normalization is crucial in various graphics and shading operations, as it prevents unintended scaling effects and ensures correct mathematical calculations involving vectors.
The Normalize node maintains vector calculation precision and visually consistency for:
- Proper normal map shading by keeping normal vectors unit length.
- Accurate reflection or refraction calculations
- Directional effects, such as Fresnel or Parallax, etc.
Functionality
The Normalize node takes a vector as input and computes its unit vector:
Usage Examples
Creating A Material Always Facing The Camera
Normalization is a crucial step when working with vectors. Skipping normalization can result in incorrect material behavior due to changes in camera vector length, leading to miscalculations.
For example, if we want to create an object always facing the camera, we need to construct a local coordinate system based on the camera's position relative to the object.
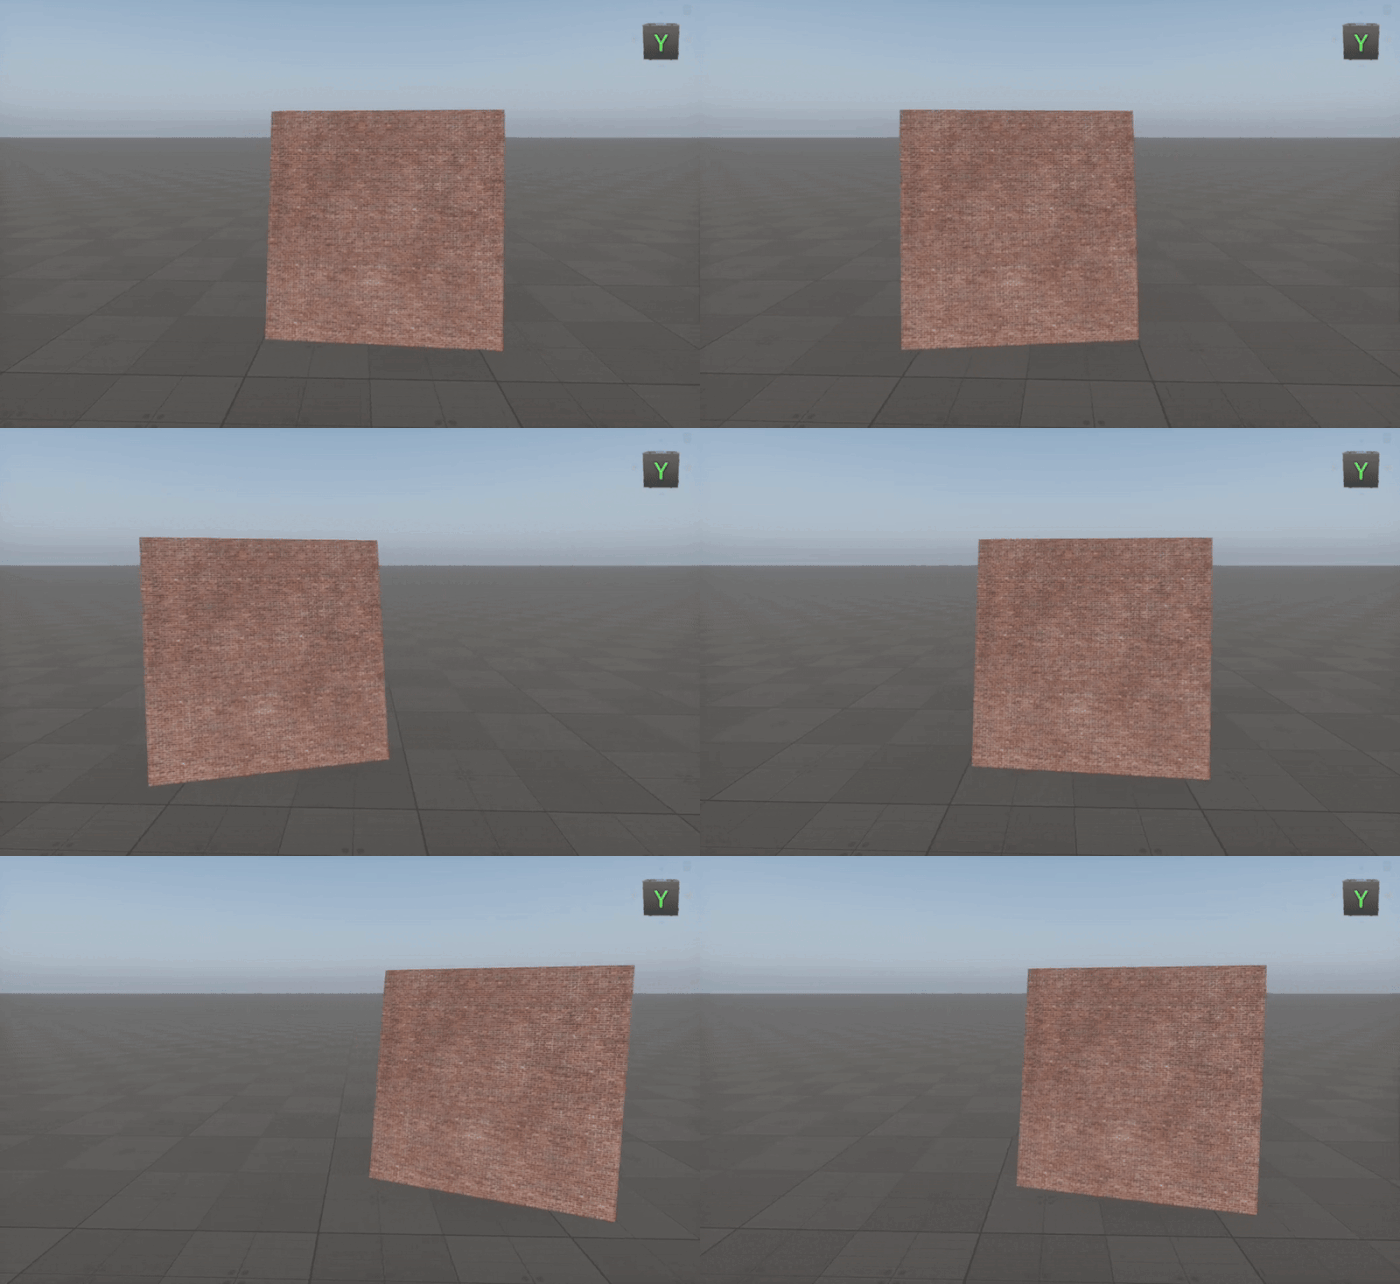
Since the Cross node calculates the perpendicular vector by multiplying two input vectors, without normalization, their varying lengths will cause unpredictable material transformation, making the object change in size depending on the camera position. To avoid this, always normalize vectors before performing such calculations.
The information on this page is valid for UNIGINE 2.20 SDK.
