AlphaMapper
Warning
ResourceEditor tool is deprecated and no longer supported. We can't guarantee the stable work of the tool.
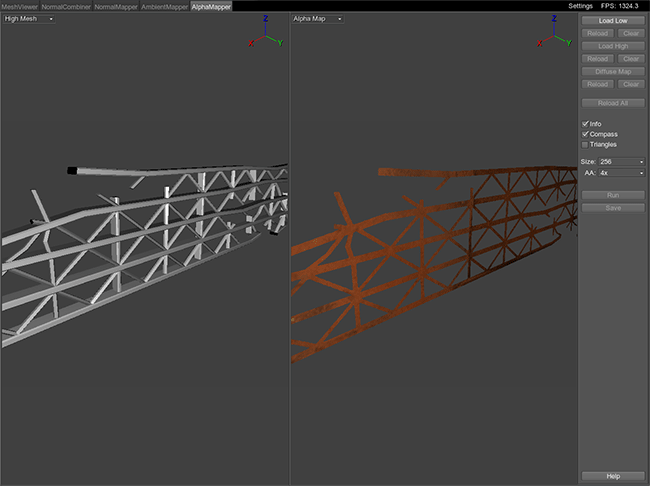
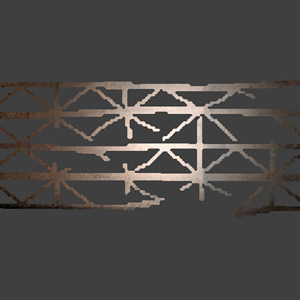
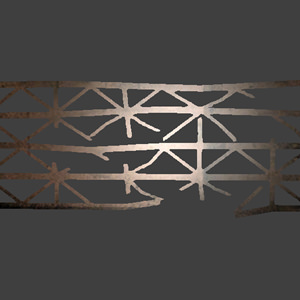
AlphaMapper is used to create an alpha map based on a high-poly mesh with the specified accuracy and bake it into the diffuse map in just a few clicks. When alpha test will be performed for a mesh material, the generated alpha map will define which areas are visible and which are invisible and not drawn. It can be used to improveme appearance of grids, latices, thin bars, etc.
Usage
To create an alpha map do the following:
- Load a low-poly mesh for which alpha map will be created by clicking Load Low.
- Load a high-poly mesh used as a reference for created alpha map by clicking Load High.
- If necessary, load a diffuse texture into which an alpha map will be baked using Diffuse Map option.
- Set alpha map options at the right side of the ResourceEditor window.
- Click Run to start the process. After the alpha map is created, it can be seen at the Alpha Map viewing pane.
- Click Save to save the alpha map. If a diffuse texture was loaded, the alpha map will be baked into its alpha channel.
Notice
AlphaMapper is designed to work only within the first UV tile region (texture coordinates [0;1]). Multiple UV tiles are ignored.
Display Modes
AlphaMapper has two viewing panes. The display mode can be switched in the drop-down list in the upper left corner of each pane.

|
|
File Options
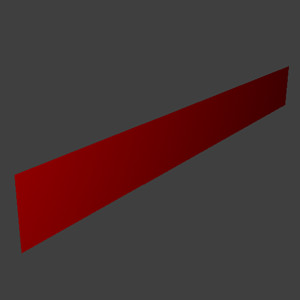
| Load Low | Load a low-poly mesh for which alpha map will be created (for example, a simple plane).
Low-poly mesh
Notice
You can also load the low-poly mesh by pressing Ctrl+O. |
|---|---|
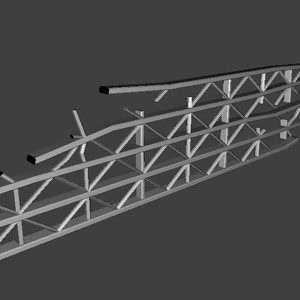
| Load High | Load a high-poly mesh based on which an alpha map will be baked.
High-poly mesh
Notice
You can also load the high-poly mesh by pressing Ctrl+H. |
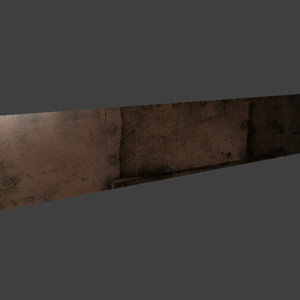
| Diffuse Map | Load a diffuse texture into alpha channel of which the created alpha map will be saved.
Diffuse texture
Notice
You can also load the diffuse map by pressing Ctrl+D. |
| Reload | Reload a mesh or a diffuse texture. |
| Clear | Remove a mesh or a diffuse texture. |
| Reload All | Reload meshes along with a diffuse texture, if any, and clear the alpha map.
Notice
You can also reload resources by pressing Ctrl+R. |
| Run | Create an alpha map that specifies visible and invisible areas for alpha-tested materials. The result applied to the model can be seen in the Alpha Map mode. |
| Save | Save the calculated alpha map into the texture. See supported formats into which the texture can be saved. There are some options present while saving:
Notice
You can also save the alpha map by pressing Ctrl+S. |
Visualization Options
The set of visualization options:
| Info | Display information about the mesh that is currently in the viewport. Such data is shown as a number of surfaces, vertices and triangles.
Notice
You can also enable the option by pressing I. |
|---|---|
| Compass | Toggle an XYZ compass in the upper right corner of the viewport.
Notice
You can also enable the option by pressing C. |
| Triangles | Toggles showing a base grid plane.
Notice
You can also enable the option by pressing T. |
Alpha Map Options
Supported File Formats
Supported formats of geometry data:
- Unigine mesh (.mesh)
- Unigine skinned mesh (.smesh)
- Wavefront (.obj)
- COLLADA (.dae)
- FBX (.fbx)
Supported formats of textures:
- Targa (.tga)
- Portable Network Graphics (.png)
- JPEG (.jpg)
- Photoshop Document (.psd)
- Direct Draw Surface (.dds)
- Portable Pixmap (.ppm)
- Portable Graymap (.pgm)
- High Dynamic Range (.hdr)
- Silicon Graphics Image (.sgi)
- Tagged Image File (.tif)
Hot Keys
- Ctrl+O — load a low-poly mesh.
- Ctrl+H — load a high-poly mesh.
- Ctrl+D — load a diffuse texture.
- Ctrl+R — reload all resources.
- Ctrl+S — save the alpha map or bake it into the loaded diffuse texture, if any.
- I — toggle mesh info.
- C — toggle a XYZ compass.
- T — toggle base grid.
- G — reset pivot from the mesh to the camera.
Last update: 03.07.2017
Помогите сделать статью лучше
Была ли эта статья полезной?
(или выберите слово/фразу и нажмите Ctrl+Enter
