Usage Example
The article contains the step-by-step implementation of fading-in/fading-out of an object in the scene by means of the Tracker tool:
- Create two objects (e.g box primitives: box1 and box2) with the same transformation and having two materials with different Albedo textures assigned.

- Make the box1 object transparent by setting Common -> Transparency -> Preset -> Alpha Blend for its material.

- Open the Tracker tool by choosing Tools -> Tracker in the Menu Bar.
- Click
 to add a new track and choose node -> object -> material -> parameterSlider in the Add Parameter window that opens.

- Select the transparent box1 object in the Select Node window that opens.

- Select the box:transparent parameter in the Parameter field of the Track Info section.

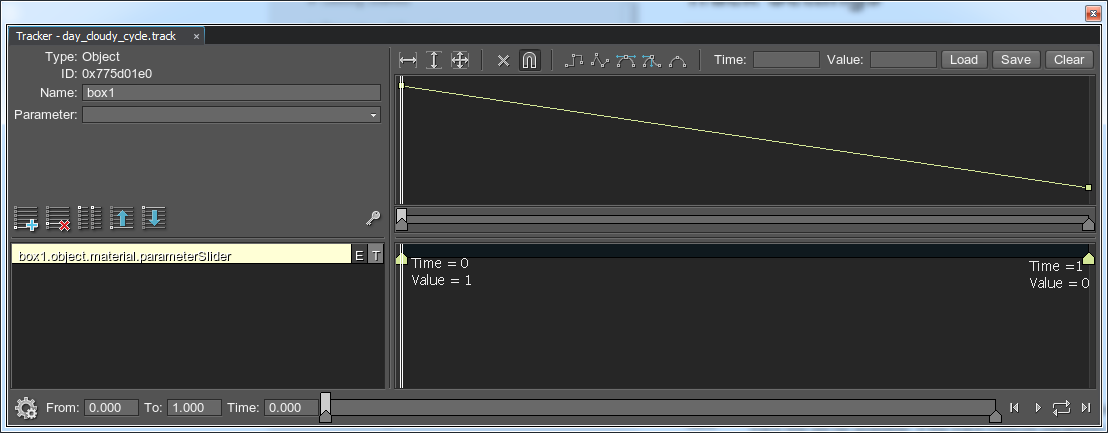
- Add two key frames for the created track: double-click the track line to add a key frame and set the following values:
- For the first key frame, set Time = 0 and Value = 1.
- For the second key frame, set Time = 1 and Value = 0.

Notice
If any Z-fighting occurs, you can also adjust Polygon Offset and Rendering Order for the box1 object’s material.
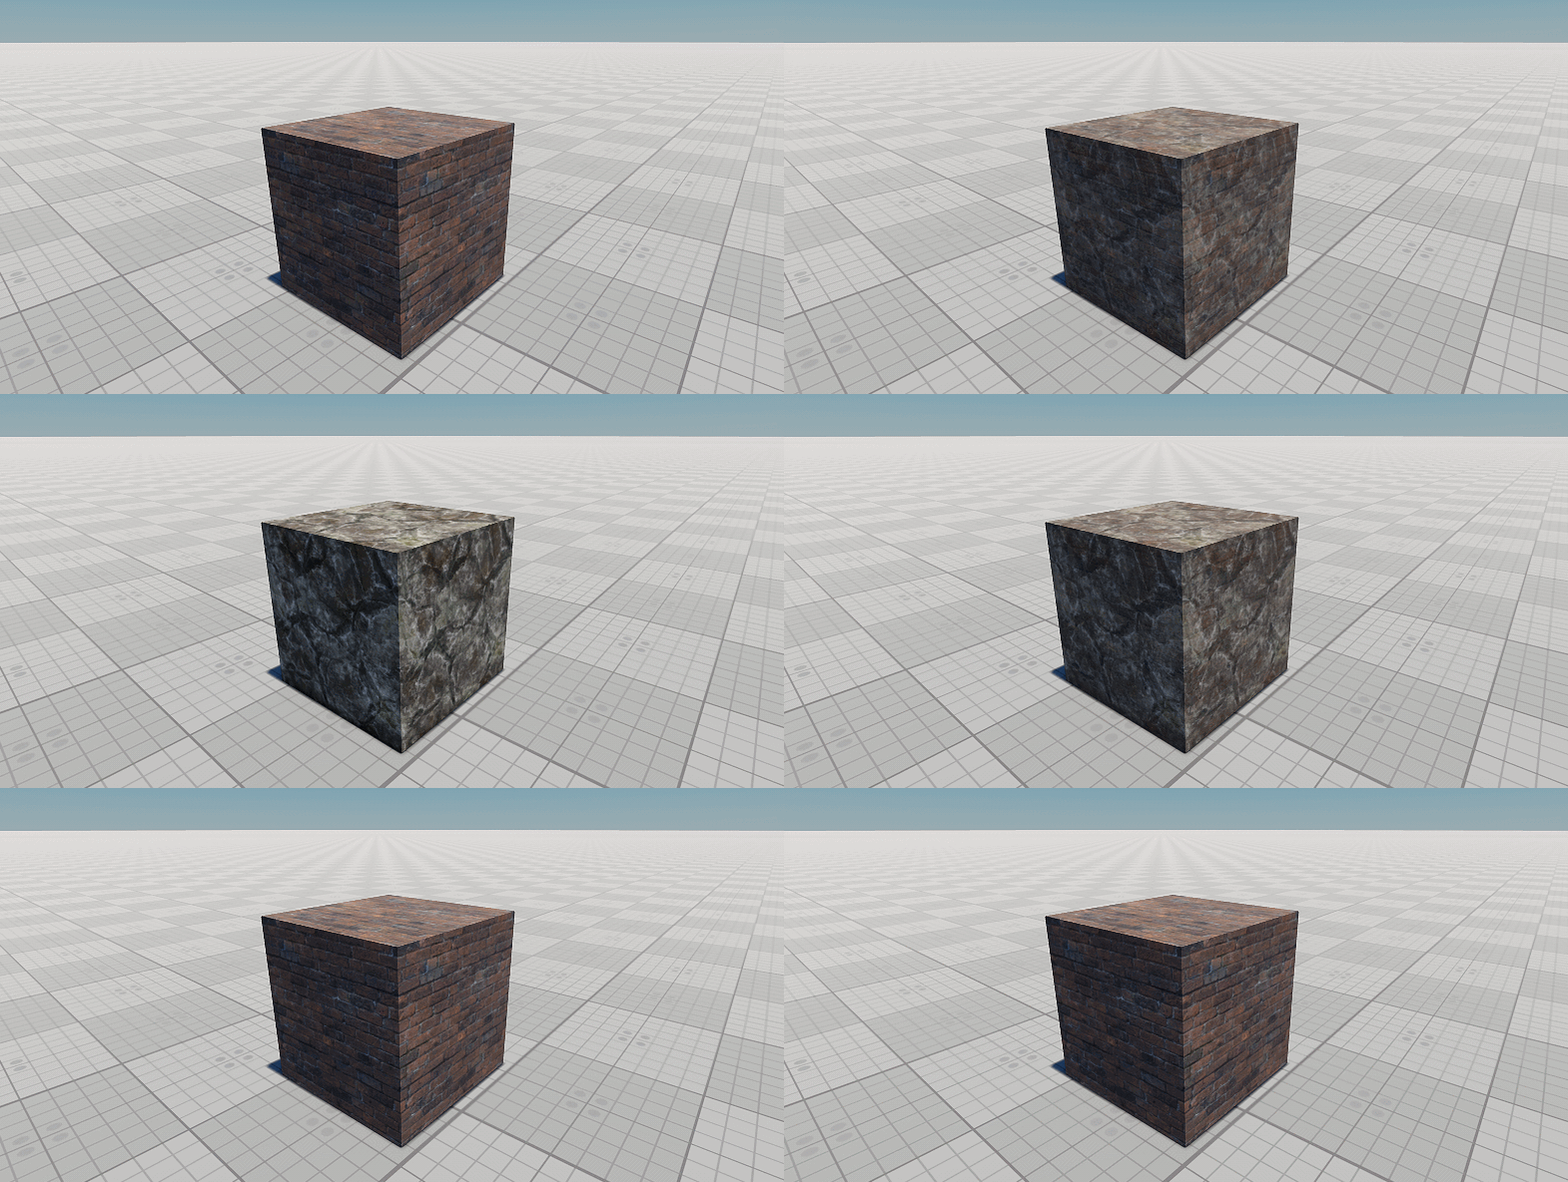
The result will be the following:

Last update: 04.06.2018
Помогите сделать статью лучше
Была ли эта статья полезной?
(или выберите слово/фразу и нажмите Ctrl+Enter