This page has been translated automatically.
Video Tutorials
Interface
Essentials
Advanced
How To
Basics
Rendering
Professional (SIM)
UnigineEditor
Interface Overview
Assets Workflow
Version Control
Settings and Preferences
Working With Projects
Adjusting Node Parameters
Setting Up Materials
Setting Up Properties
Lighting
Sandworm
Using Editor Tools for Specific Tasks
Extending Editor Functionality
Built-in Node Types
Nodes
Objects
Effects
Decals
Light Sources
Geodetics
World Nodes
Sound Objects
Pathfinding Objects
Players
Programming
Fundamentals
Setting Up Development Environment
Usage Examples
C++
C#
UnigineScript
UUSL (Unified UNIGINE Shader Language)
Plugins
File Formats
Materials and Shaders
Rebuilding the Engine Tools
GUI
Double Precision Coordinates
API Reference
Animations-Related Classes
Containers
Common Functionality
Controls-Related Classes
Engine-Related Classes
Filesystem Functionality
GUI-Related Classes
Math Functionality
Node-Related Classes
Objects-Related Classes
Networking Functionality
Pathfinding-Related Classes
Physics-Related Classes
Plugins-Related Classes
IG Plugin
CIGIConnector Plugin
Rendering-Related Classes
VR-Related Classes
Content Creation
Content Optimization
Materials
Material Nodes Library
Miscellaneous
Math
Matrix
Textures
Art Samples
Tutorials

Vertex UV 1 Node


Description

This node retrieves the second set of UV coordinates from a mesh's vertex data, defining how textures are wrapped around a 3D model and positioned on the mesh. The Vertex UV 1 node is used for sampling textures, for example albedo, normal textures, baked lighting, damage or dirt masks. It is commonly utilized for additional secondary texture layers such as detail maps, decals, or lightmaps.

The Vertex UV 1 node outputs a float2 value representing the UV coordinates stored in the second UV channel.

Use the Vertex UV 0 node to access the first UV set of the UV coordinates.

Usage Examples

Creating A Brick Wall With Patches Of Dirt

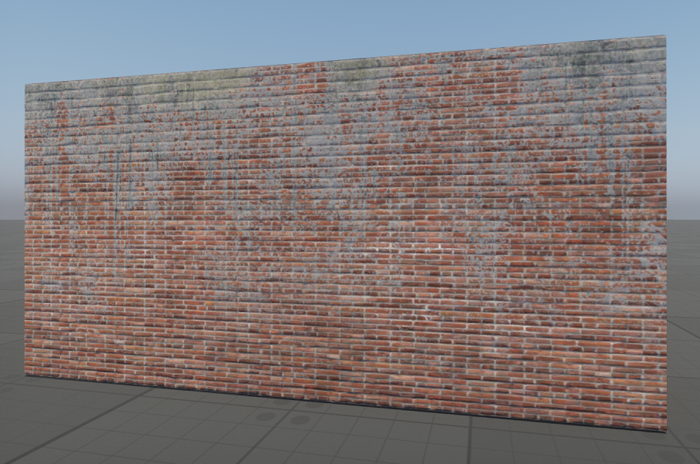
Let's create a brick wall with certain areas covered in dirt.

  1. First, unwrap the mesh in a 3D editor, ensuring it has two UV sets - one for the brick texture (albedo) and another for the dirt overlay.
  2. Import the mesh into the editor.
  3. Use Vertex UV 0 node to map the main brick texture and Vertex UV 1 for the dirt texture.
  4. Blend them, using the Lerp (linear interpolation) node with the dirt texture's Alpha channel as the blending coefficient.

This setup allows the dirt to appear only in specific areas while preserving the brick texture underneath.

The information on this page is valid for UNIGINE 2.20 SDK.

Last update: 2025-04-04
Build: ()