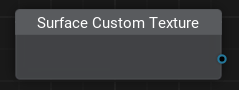
Surface Custom Texture Node
Description
The Surface Custom Texture node allows you to customize individual objects while maintaining shared material properties across multiple instances, for example:
- A highway with several billboards, each displaying a unique advertisement
- Chalkboards with different drawings or text
- Different tree variations in a forest, where some trees have autumn-colored leaves while others remain green
- A set of metal crates where some have scratches or rust while others look brand new
- A road material where cracks and patches appear differently for each road segment, etc.
The data provided by the Surface Custom Texture node can be used for blending, masking, or procedural effects.
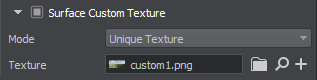
To assign a custom texture, open the Parameters tab, select a surface, enable Surface Custom Texture, and choose the required texture in the Texture field. It will be processed and utilized by the material, considering the customized texture adjustments per surface.
This allows you to introduce diversity among different objects while using a single material, rather than creating multiple unique materials for each instance.
Using custom textures enhances consistency and optimization by reducing the need for redundant materials. Additionally, you can modify textures in Texture Paint Mode to create unique patterns using a wide range of tools. To create a new custom texture from scratch (such as a mask for texture blending), simply press the  button next to the Texture field to generate one.
For a step-by-step video tutorial, check out our How To Use Surface Custom Texture video.
Usage Examples
Creating Different Tree Variations In A Forest
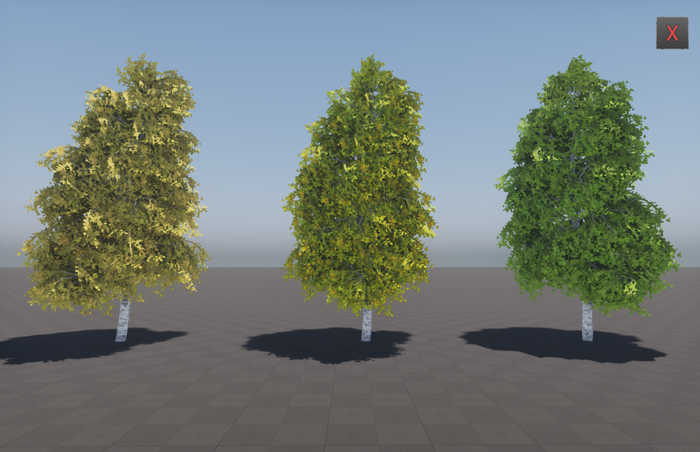
For example, in a forest scene, you can assign unique colors to specific trees while preserving common material attributes such as roughness and trunk texture.
Creating Chalkboards With Different Drawings
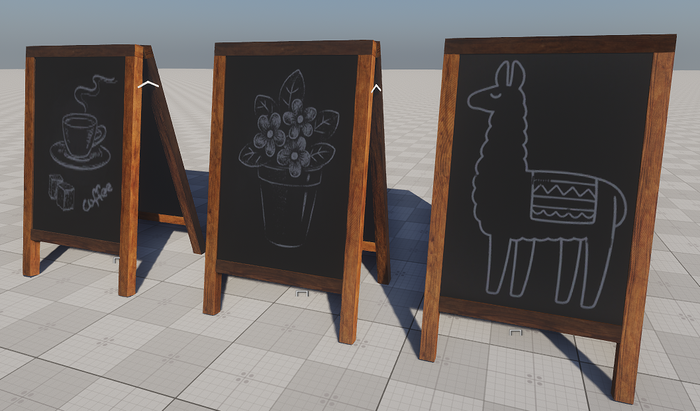
Similarly, if you need multiple chalkboards displaying different content, you can assign a custom texture to each one without creating separate materials.
The information on this page is valid for UNIGINE 2.20 SDK.