Node
A ![]() node is a generic entity representing any object that is presented in the world and specifically positioned and oriented.
The node is created and stored in the world. All changes made to the node are saved in the .world file.
You can also export the node into an external .node file and then import it into the world when necessary
or create a reference to it.
However, all changes made for the original node via UnigineEditor will still be saved into the .world file.
node is a generic entity representing any object that is presented in the world and specifically positioned and oriented.
The node is created and stored in the world. All changes made to the node are saved in the .world file.
You can also export the node into an external .node file and then import it into the world when necessary
or create a reference to it.
However, all changes made for the original node via UnigineEditor will still be saved into the .world file.
See Also
- A Node class to edit nodes via UnigineScript
- An Unigine::Node class to edit nodes via C++ API
Creating a Node
To create a new node via UnigineEditor, click Create on the Menu bar, choose a required object and add it to the scene. The new node will appear in the nodes hierarchy list of the Nodes panel. For example, you can add a static mesh which will be a node in terms of Unigine:
Editing a Node
The node can be edited via the Nodes panel of UnigineEdtior. All nodes have common settings which are presented on the Node tab. Also each node has special settings, which vary depending on the type of the node.
Editing the node also includes editing materials and properties assigned to the node.
Exporting a Node
To export a node stored in the world, select it and click ![]() in the Nodes panel.
In the file dialog window that opens, specify a name for the node and click Ok.
The node will be saved into the external .node file.
in the Nodes panel.
In the file dialog window that opens, specify a name for the node and click Ok.
The node will be saved into the external .node file.
Importing a Node
Besides creating a new node, you can import the existing node which was previously exported into an external .node file.
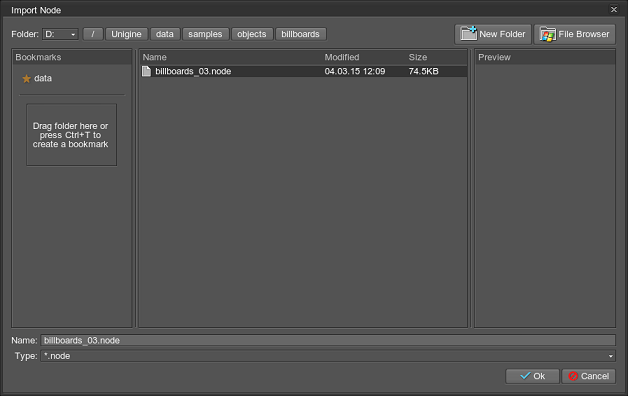
To import a node into the current world, click Import -> Node File Contents in the UnigineEditor menu bar. In the Import Node dialog window that opens, choose the required .node file:

Deleting a Node
To delete a node from the world, select it, press Delete and click Yes in the dialog window that opens. The node will be removed from the .world file after saving the world via UnigineEditor.
