Vertex UV 0 Node

Description
This node retrieves the first set of UV coordinates from the mesh's vertex data, defining how textures are wrapped around a 3D model and positioned on the mesh. The Vertex UV 0 node is used for sampling textures, for example albedo, normal textures, baked lighting, damage or dirt masks. The Vertex UV 0 node outputs a float2 value representing the UV coordinates stored in the model's first UV channel.
To access the second UV set of the UV coordinates use the Vertex UV 1 node.
Usage Examples
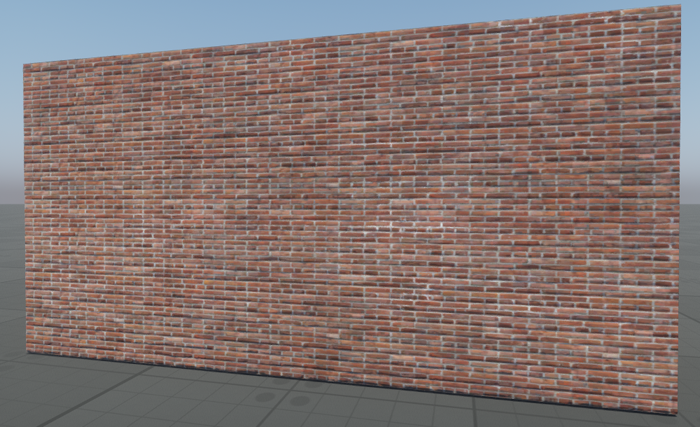
Creating A Brick Wall
Let's create a brick wall material using a UV-mapped texture.
- First, unwrap the mesh in a 3D editor, ensuring it has a properly laid-out UV set.
- Import the mesh into the editor.
- Use the Vertex UV 0 node to map the brick texture (albedo) onto the surface.
This ensures that the texture follows the UV coordinates assigned in the 3D editor, allowing the bricks to appear correctly aligned with the model's geometry.
The information on this page is valid for UNIGINE 2.20 SDK.
