C++/C# Photon Integration Sample
Photon is a networking engine and multiplayer platform that can handle all requests on their own servers. Thus, to create a multiplayer networking solution, you implement the application (gameplay) logic and features in the UNIGINE project, and the networking part is done using Photon. This small sample demonstrates how to integrate the Photon engine into your UNIGINE project to make it a multiplayer app.Photon是一个网络引擎和多人平台,可以在自己的服务器上处理所有请求。因此,要创建多人联网解决方案,您需要在UNIGINE项目中实现应用程序(游戏玩法)逻辑和功能,而联网部分则使用Photon完成。这个小示例演示了如何将Photon引擎集成到UNIGINE项目中,使其成为一个多人应用程序。
Two Photon products are integrated into the Photon Integration third-party sample:两个Photon产品集成到Photon Integration第三方样品中:
- Photon Realtime arranges interaction of multiple players via network. It can be used for creation of multiplayer shooters, racing games, and other real-time applications.Photon Realtime通过网络安排多人互动。它可以用于创建多人射击游戏,赛车游戏和其他实时应用程序。
- Photon Chat allows users to exchange written messages both publicly and privately.Photon Chat允许用户公开和私下交换书面消息。
The sample contains the following elements:样本包含以下元素:
- Simplified authorization window to enter the user nickname, which can be used as a basis for a more elaborate authorization window with a password and so on简化授权窗口输入用户昵称,这可以作为更精细的授权窗口的基础,使用密码等
- Lobby window to create a room and check the list of created rooms available for connection大厅窗口创建一个房间,并检查创建的房间列表可供连接
- World containing the actual objects that can be manipulated and the chat window to exchange messages包含可操作的实际对象和用于交换消息的聊天窗口
Data Transfer via Network通过网络传输数据#
Photon Sample contains Utils that demonstrate how to transfer UNIGINE data types via Photon.Photon 示例包含Utils,演示如何通过Photon 传输UNIGINE 数据类型。
It is impossible to directly transfer UNIGINE data via network using Photon — they should be serialized before being sent and then deserialized when received by another party. Photon is able to serialize and deserialize the data sets listed here (click on Common-cpp - data types and utilities). The same information on data types is available as a PDF file for your convenience.使用Photon通过网络直接传输UNIGINE数据是不可能的——它们应该在发送之前进行序列化,然后在另一方接收时进行反序列化。 Photon 能够序列化和反序列化此处(点击 Common-cpp - data types and utilities)列出的数据集。同样的数据类型信息以PDF文件的形式提供,方便您使用。
Other specific data types such as transformation matrices should be registered in a specific way illustrated in our sample for proper serialization/deserialization process.其他特定的数据类型(如转换矩阵)应该以我们示例中所示的特定方式注册,以实现正确的序列化/反序列化过程。
Check this sample and create your own applications integrating more network solutions developed by Photon.检查这个示例并创建您自己的应用程序,集成由Photon开发的更多网络解决方案。
How to Run the Sample如何运行样本#
To use Photon products, register on the Photon website (www.photonengine.com) and do the following:要使用Photon产品,请在Photon网站(www.photonengine.com)注册并执行以下操作:
-
Download the required SDKs.下载所需sdk 。
Go to SDKs (the tab in the top right corner).转到sdk(右上角的选项卡)。

You'll need SDKs for two Photon products to run this sample:要运行这个示例,您需要两个0_php产品的sdk:
- REALTIME — Windows/Linux for C++ or .NET for C#REALTIME - Windows/Linux支持C++或。net支持C#
- CHAT — Windows/Linux for C++ or .NET for C#CHAT - Windows/Linux支持C++或。net支持C#
-
Add binaries.添加二进制文件。
In the Photon sample folder, find the folder named PhotonSDK. Copy all binaries to this folder according to the structure provided in the Readme.txt file also available in this folder.在Photon样本文件夹中,找到PhotonSDK文件夹。根据Readme.txt文件中提供的结构将所有二进制文件复制到这个文件夹中,Readme.txt文件也在这个文件夹中。
 Example for Windows C++ project, Chat SDK binaries示例Windows C++项目,聊天SDK二进制文件
 Example for Windows C# project, Chat SDK binariesWindows C#项目示例,聊天SDK二进制文件
 -
Create App IDs.创建应用id 。
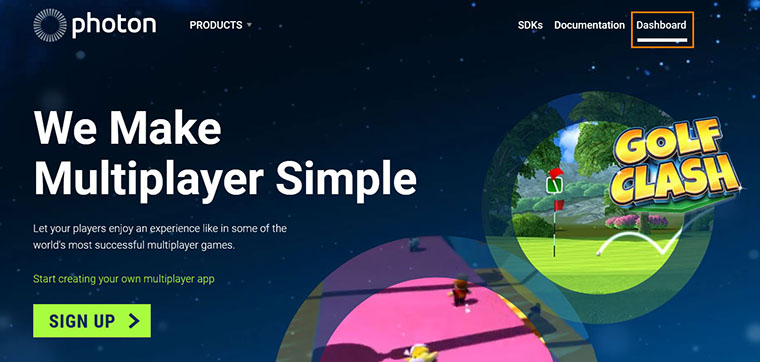
Go to Dashboards (the tab in the top right corner).转到Dashboards(右上角的选项卡)。
In the Dashboards section, click CREATE A NEW APP.在Dashboards部分中,单击0_ight。
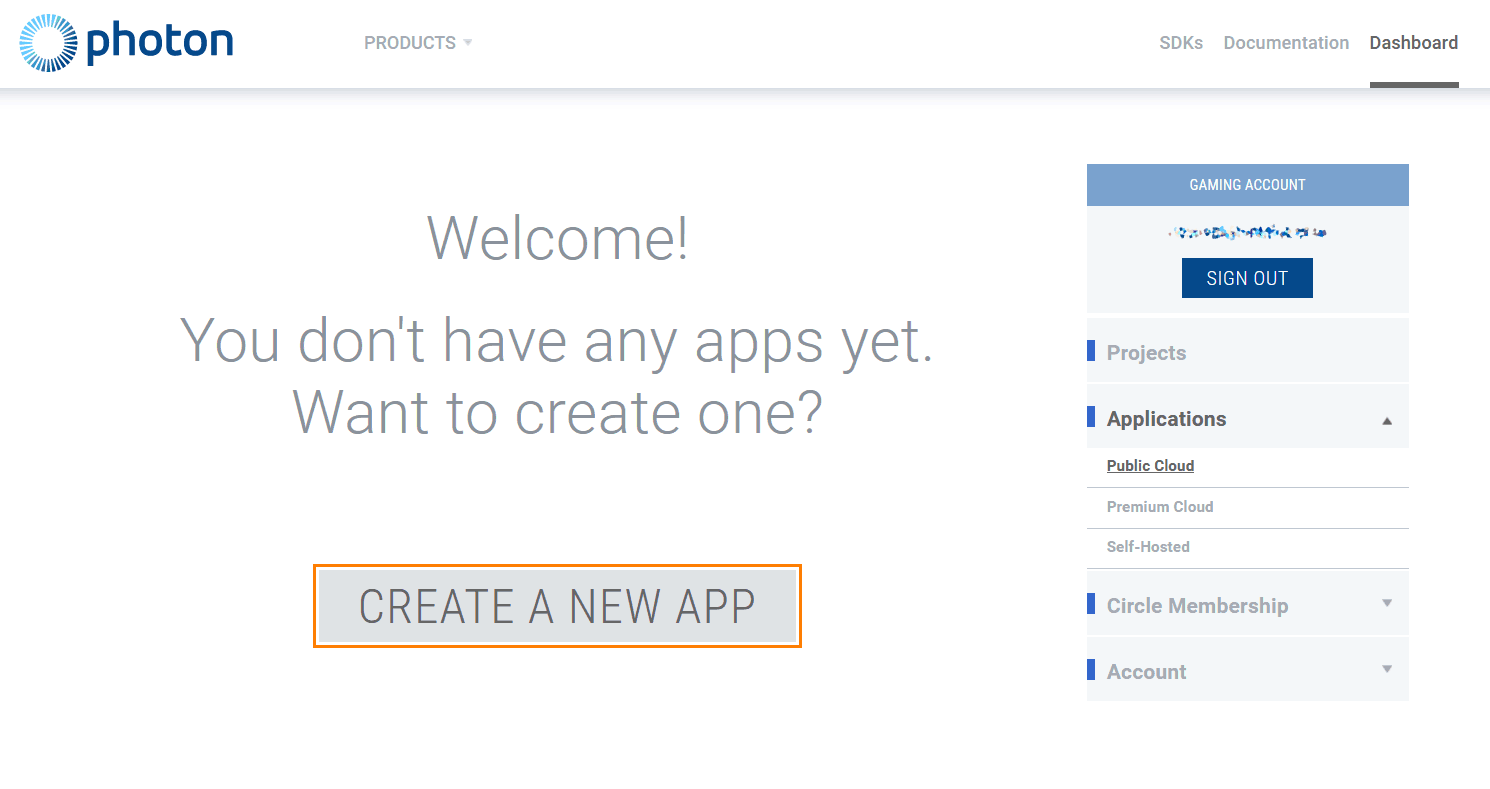
You need to create two applications for Photon sample: one using Realtime Photon SDK, and the other one — Chat Photon SDK.您需要为 Photon 示例创建两个应用程序:一个使用 Realtime Photon SDK,另一个使用 Chat Photon SDK。
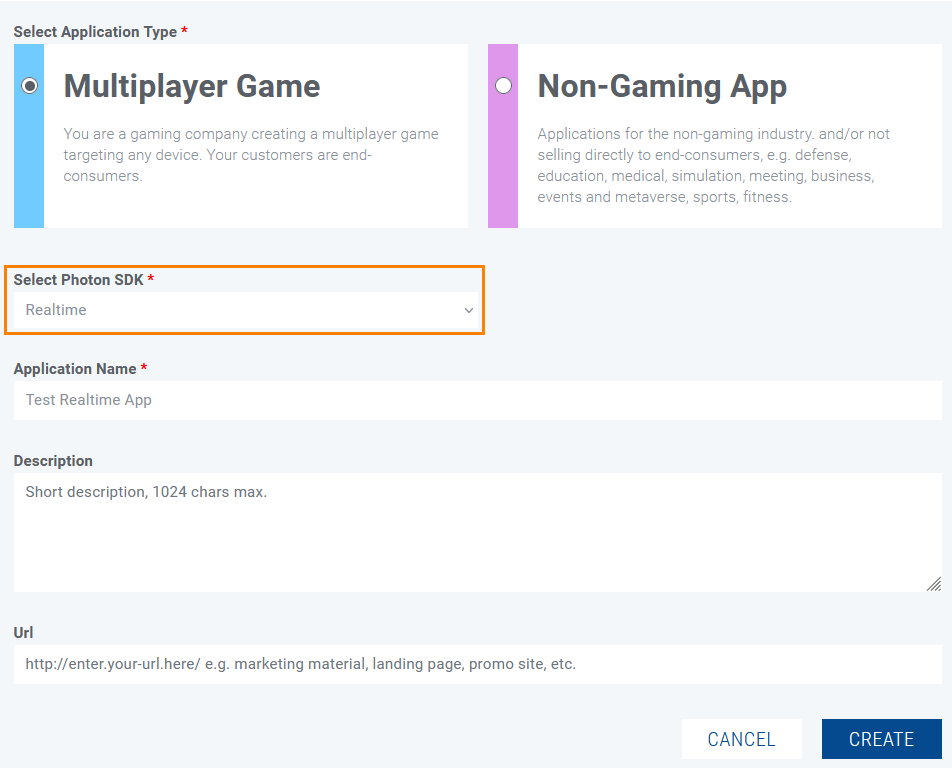 Creating a Realtime Photon App创建一个实时光子应用程序
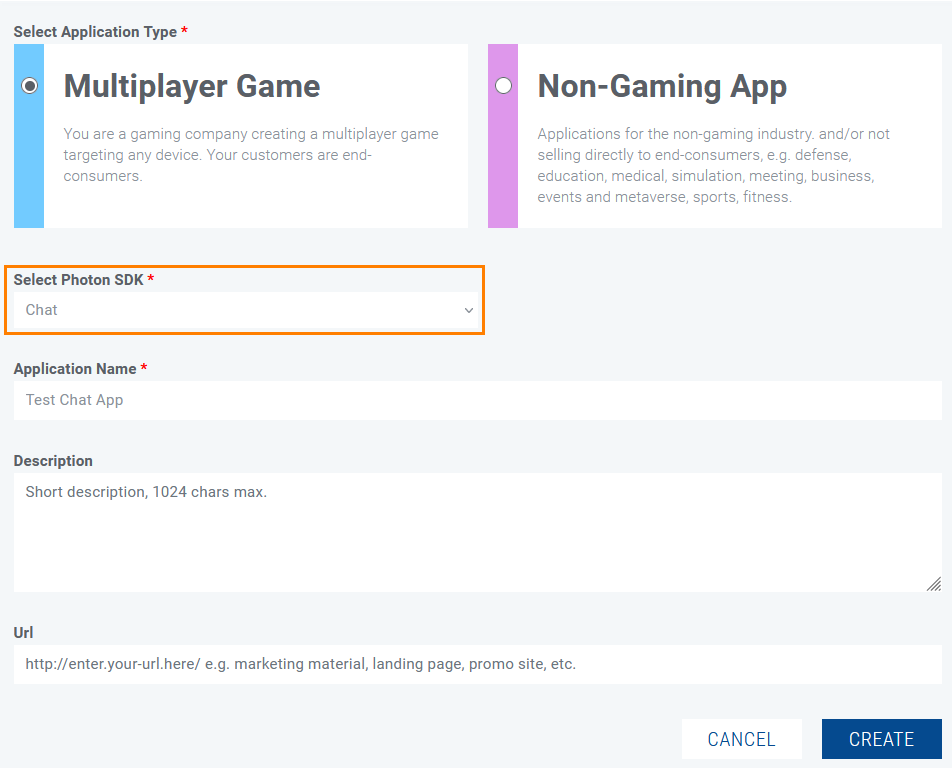 Creating a Chat Photon App创建一个聊天光子应用程序
Now you have two apps and may use their IDs in the sample. The same ID is used for every instance (i.e. other participants don't need to create their own apps).现在您有两个应用程序,可以在示例中使用它们的id。每个实例使用相同的ID(即其他参与者不需要创建自己的应用程序)。
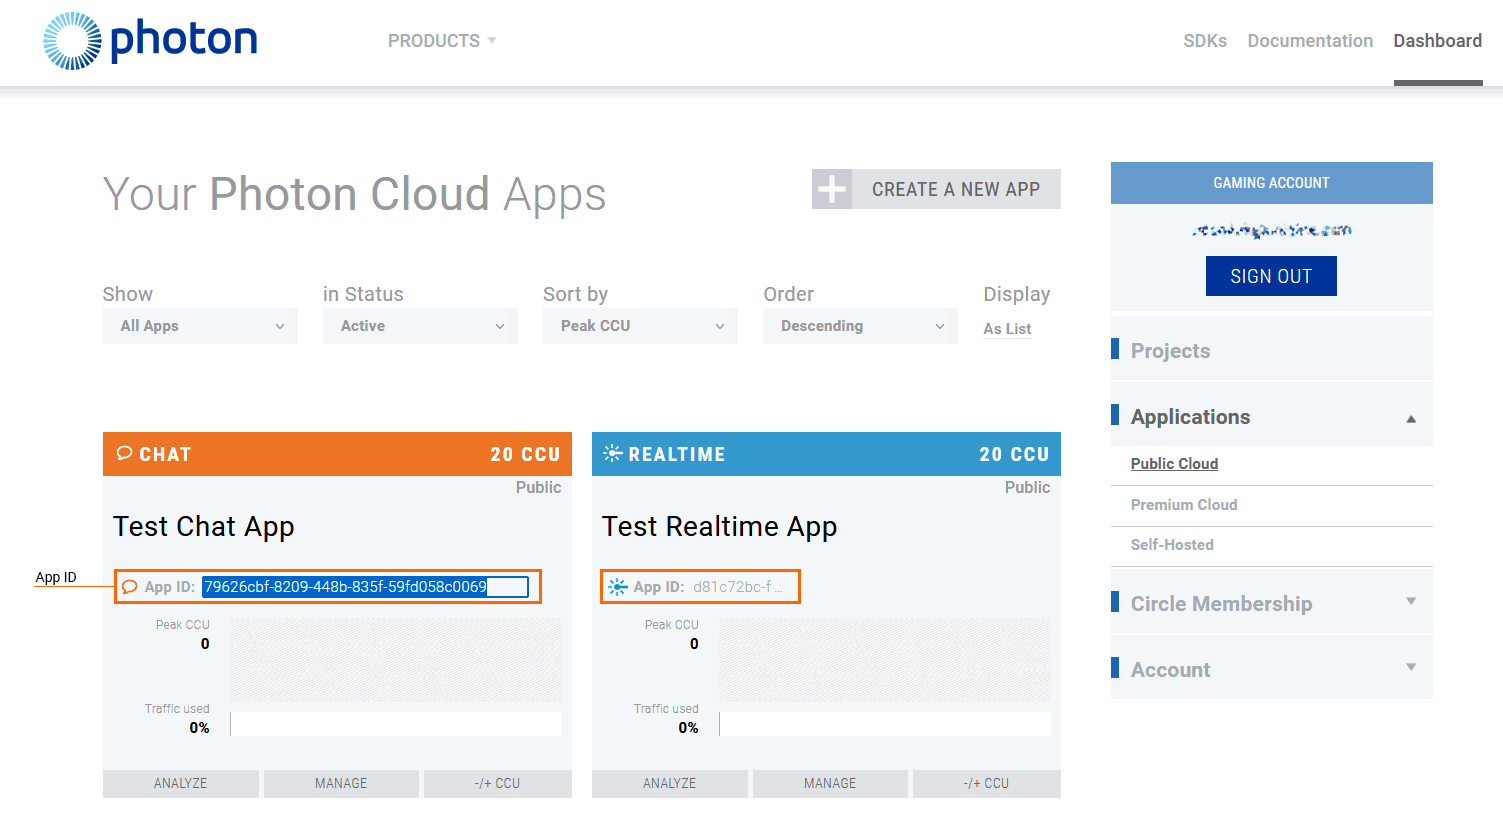
-
Add App IDs to the sample project.将应用id添加到示例项目中。
In the project folder find data/application_params.json and paste the IDs to the corresponding lines.在项目文件夹中找到data/application_params.json并将id粘贴到相应的行。
命令行{ "realtime_application_id": "______________", "realtime_application_version": "1.0", "chat_application_id": "_________________", "chat_application_version": "1.0" }
This is it. Now run the app and ask your friend to do the same.就是这里。现在运行应用程序,并要求你的朋友也这样做。
If you do solo testing, run one or two more instances on your PC and switch between the windows to get a glimpse.如果你是单独测试,在你的PC上运行一两个实例,并在不同的窗口之间切换以获得一瞥。
How to Use the Sample如何使用样品#
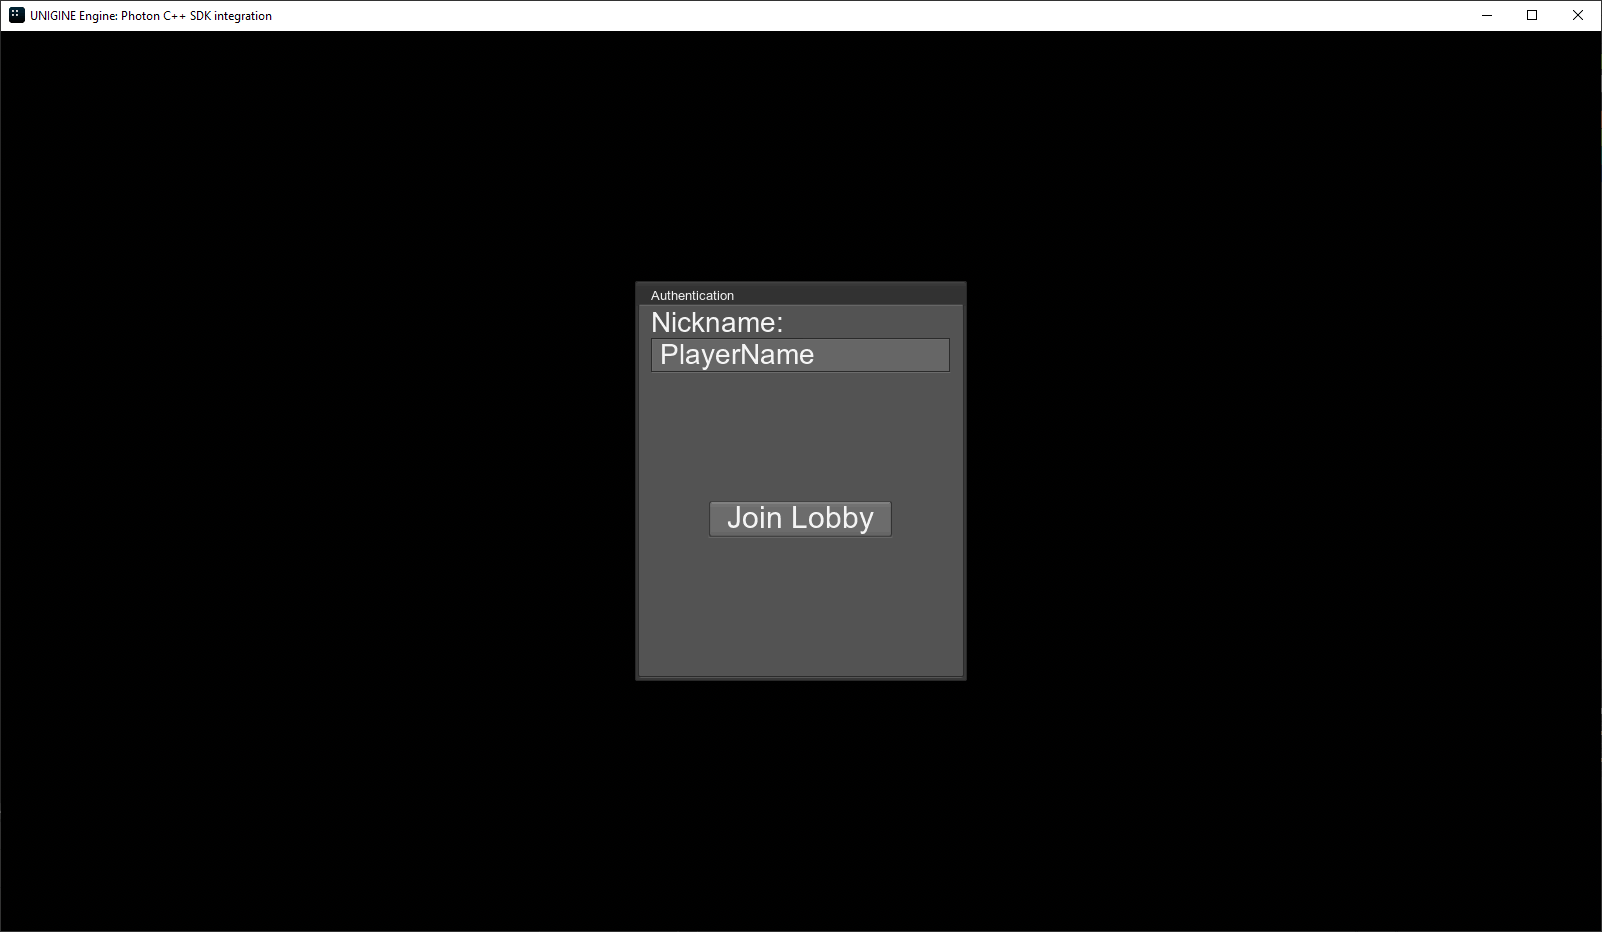
As you run the sample, you'll see a basic authorization form. Type in your nickname and click Join Lobby.在运行示例时,您将看到一个基本的授权表单。输入您的昵称并单击Join Lobby。
The Lobby window will be displayed next. If you are the first and there are no rooms in the list, click Create Room and the room will be created. 接下来将显示Lobby窗口。如果您是第一个,并且列表中没有房间,则单击Create Room,房间将被创建。
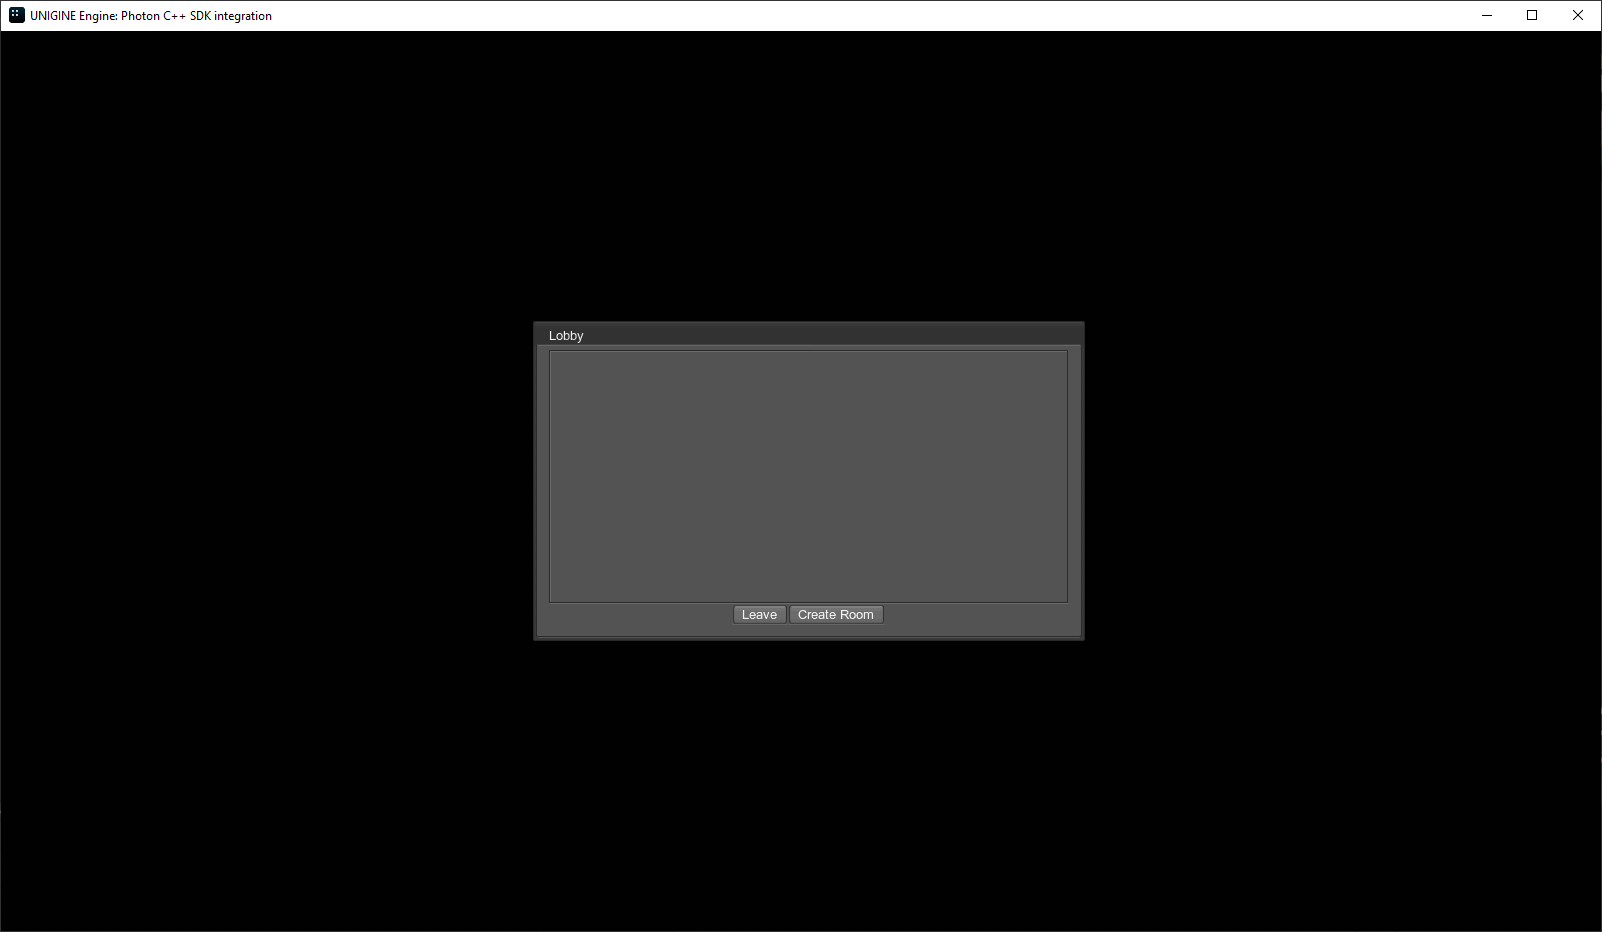
All users using the same Photon IDs in the data/application_params.json will see the room named after the nickname, if they join after this room has been created.如果所有用户在创建了这个房间之后加入,那么在data/application_params.json中使用相同的Photon id的用户将看到以昵称命名的房间。

Double-click the room name to join this room.双击房间名称以加入该房间。
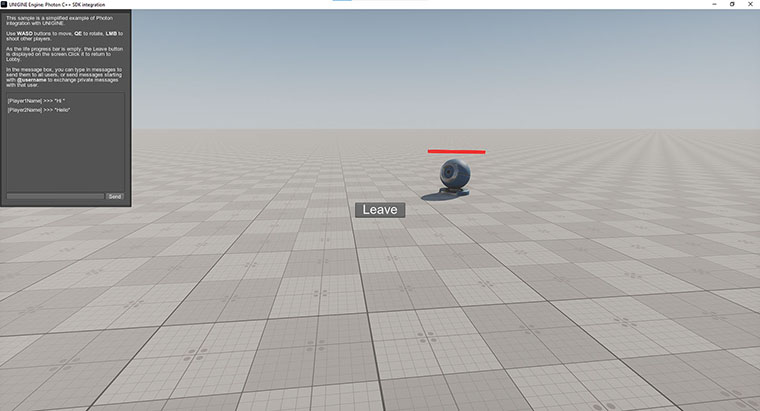
As soon as the world opens, you can move your material ball around using WASD buttons, rotate it using QE, and shoot other players clicking the left mouse button.一旦世界打开,您可以使用WASD按钮移动您的材料球,使用QE旋转它,并单击鼠标左键射击其他玩家。
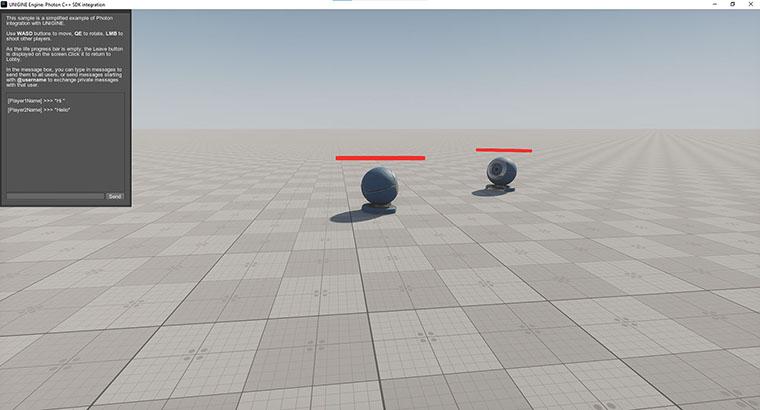
You can type in messages to send them to all users, or send messages starting with @username to exchange private messages with that user. (Of course, you should know the username for that, the application doesn't have any specific interface to let you know it.)您可以输入消息以将它们发送给所有用户,或者发送以@username开头的消息以与该用户交换私有消息。(当然,您应该知道用户名,应用程序没有任何特定的接口让您知道它。)
As the life progress bar is empty, the Leave button is displayed on the screen. Click it to return to Lobby.由于生活进度条为空,屏幕上将显示Leave按钮。点击它返回大厅。
本页面上的信息适用于 UNIGINE 2.19 SDK.
