Water Optimization
A Global Water is another object that significantly affects the performance. Despite it is optimized so that the GPU is not overloaded, it still may require some additional optimizations.
When you create waves in Layers or Manual mode, the general rule is to keep the total number of waves as low as possible. It is recommended to use less than 100 waves as their number significantly affects performance.
Setting Up Water Tessellation#
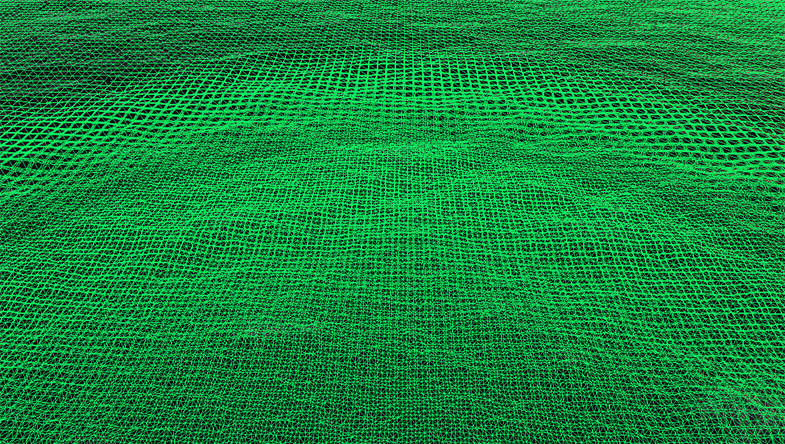
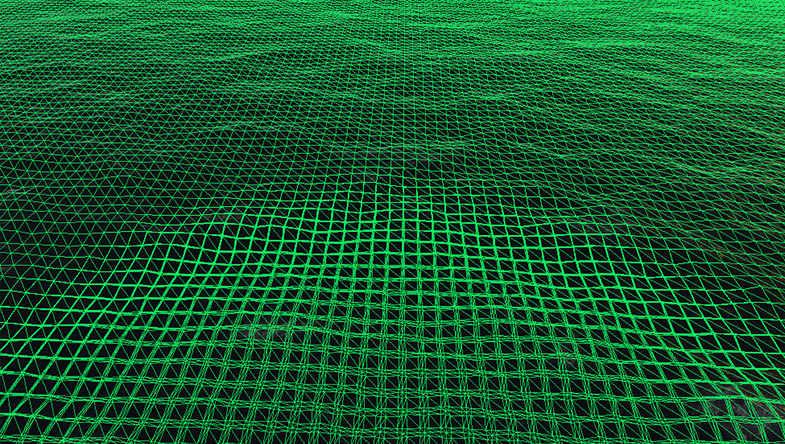
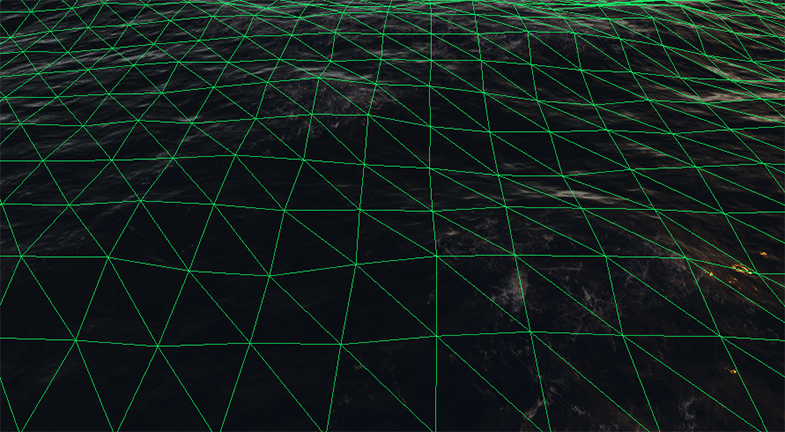
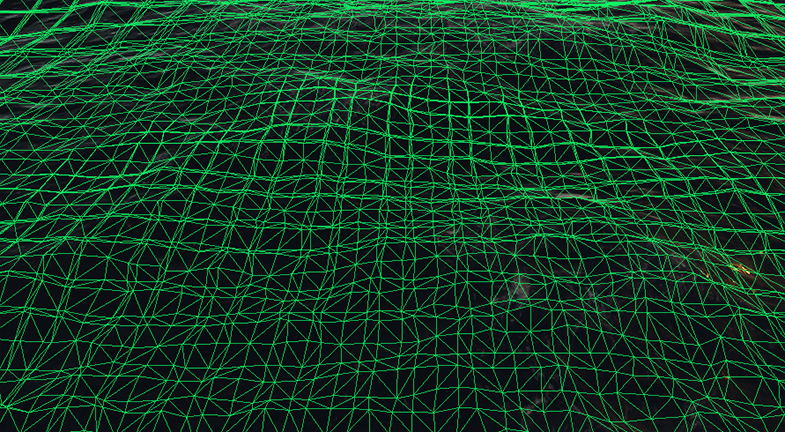
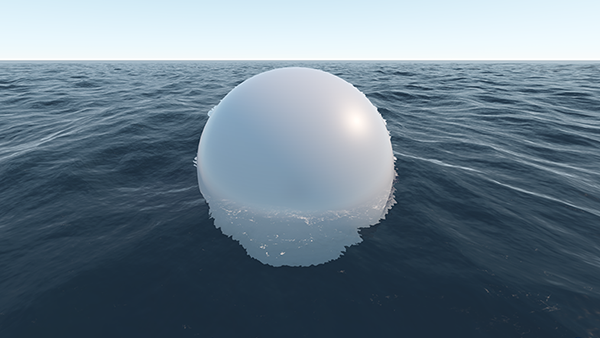
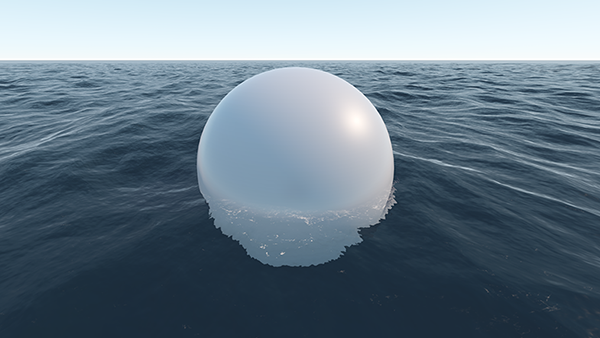
Polygons of the Global Water surface are adaptively tessellated on the fly and displaced based on the Heightmap component of the Virtual Texture. The polygon mesh is split up to multiple levels of detail of various density depending on the distance from the camera. The Geometry settings provide much room for rendering optimization. They can be found in the Water section of the Settings window.
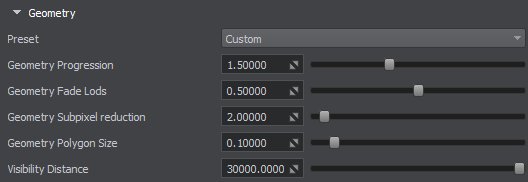
Pay attention to the following parameters:
- With lower values of Geometry Progression less polygons are generated at a distance.
- By configuring the Geometry Polygon Size parameter you can define the minimum spatial size of polygons in case of excessive detail level.
- Geometry Subpixel Reduction parameter determines the minimum ratio of polygon size (in the screen space) to the area seen in the viewport. This parameter enables you to quickly decrease the number of polygons or simply remove too small polygons that are barely visible, in order to increase performance.
- Set a lower Visibility Distance to discard rendering of too remote polygons.
Optimizing Rendering Settings#
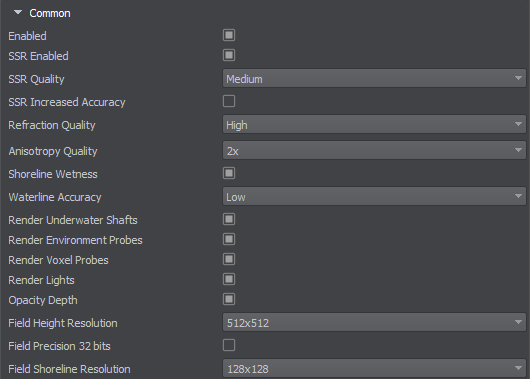
There is also a set of water rendering settings that may also reduce the performance. They can be found in the Water section of the Settings window.
Screen Space Reflections#
For the water object, the screen space reflections can be rendered instead of the planar reflections at large distances. It improves the performance, as such reflections don't depend on complexity of the reflected geometry.
You can enable the SSR effect for the water object in one of the following ways:
- In the Menu Bar, choose Rendering -> Water -> SSR.
- In the Menu Bar, choose Windows -> Settings and then go to the Water section. Here you can toggle the SSR Enabled parameter on.
In the Settings window, you can also specify the additional settings for SSR: set the quality of reflections and enable/disable increased accuracy.
However, remember that these settings affect the performance as follows:
- The higher the quality of the reflections, the lower the performance is.
- Enabling the increased accuracy reduces the performance. However, some visual artifacts are reduced as well.
Anisotropy Quality#
The Anisotropy Quality parameter specifies the anisotropy level (degree of anisotropic filtering) of the water textures. Increasing the quality provides better texture detail over a distance, however, it has a great impact on the performance. So, find the most appropriate value to keep the balance of the visual quality and the performance.
Refraction Quality#
The Refraction Quality parameter specifies the quality of water refraction: the higher the quality, the lower the performance is.
Shoreline Wetness#
The wetness effect enabled for objects near the shoreline may also affect the performance. Try to disable it, if possible, to improve the performance of water rendering.
Underwater Shafts#
Rendering of the underwater shafts can be disabled if the camera never gets under the water.
Rendering Lights on Water#
You can disable rendering of all the light sources of the certain type on the water surface to increase the performance.
- Render Environment Probes toggles on/off rendering of all environment probes on the water surface.
- Render Voxel Probes toggles on/off rendering of all voxel probes on the water surface.
- Render Lights toggles on/off rendering of all omni and projected light sources on the water surface.
Field Objects#
If interaction of water with FieldHeight and/or FieldShoreline objects is enabled in the Global Water parameters, you can affect the performance by setting up the resolution of the Field Height and Field Shoreline textures in the Settings window: the higher the resolution, the lower the performance is.
Another fields-related setting is Field Precision 32 bits. It allows reducing the precision of textures used for field objects, therefore, increasing the performance.
Setting Up Shoreline Rendering#
The shoreline areas created with the Field Shoreline object may reduce the water performance if set up improperly. Global Water provides several shoreline-related parameters that can help to gain the performance.
The Normal and Geometry options affect rendering of wave geometry of shoreline waves. Disable them, when the waves are hardly noticeable (e.g., if the shoreline is observed from above only). In some cases, using only the Geometry option is enough to simulate distortion of the water surface.
If both options are disabled, disable also the High Precision option that allows improving interpolation between the adjacent pixels of the shoreline texture. This option reduces stepping artifacts that are noticeable at the waterline separating overwater and underwater. However, if rendering of the wave geometry is disabled for the shoreline waves, there is no need in such additional calculations.
As it was noticed above, rendering of the waves geometry is usually disabled when the water surface is observed from above. Therefore, you can disable the Caustics Distortion option that smooths caustics. It will gain the performance without visual losses.
Another option that also affects the performance is Foam. It enables foam rendering for shoreline zones. If the foam simulation isn't necessary, disable the option to increase the performance.
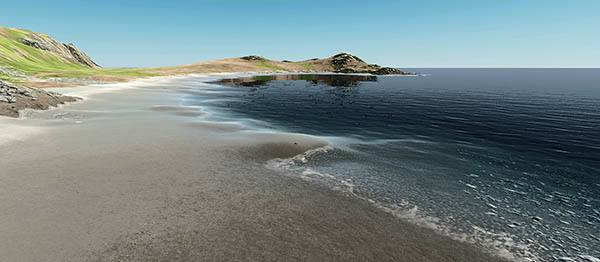
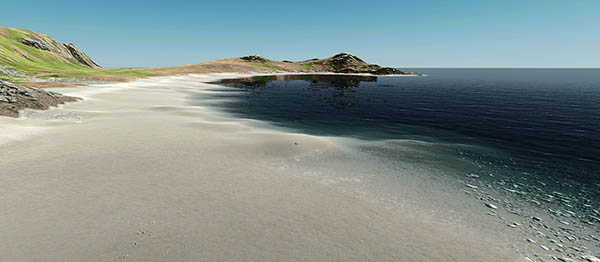
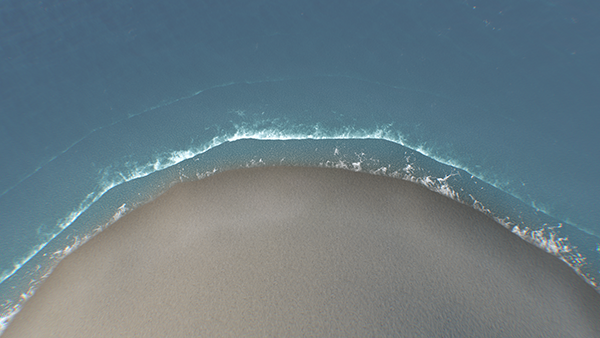
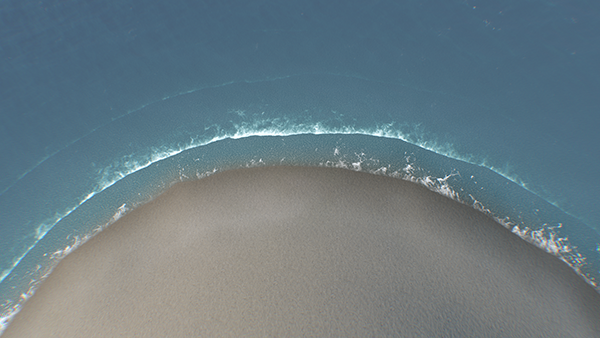
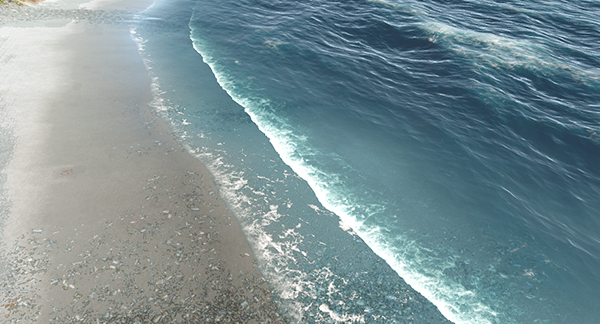
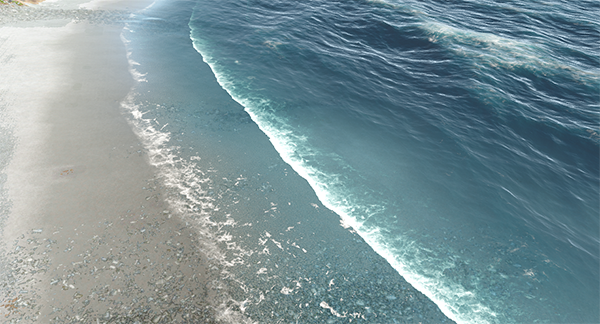
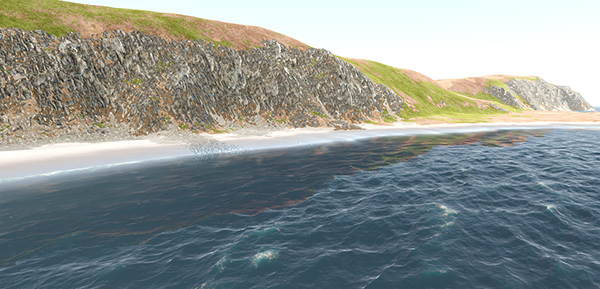
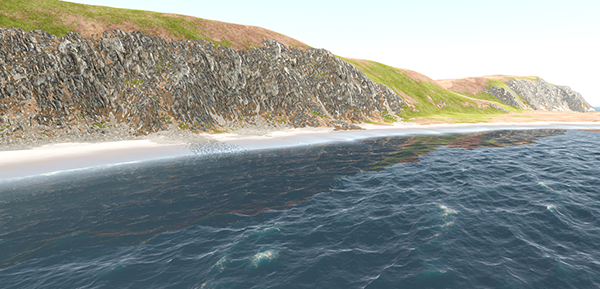
Thus, you can simulate shoreline areas, viewed from a plane, by just enabling the foam effect while disabling geometry, caustics and improved interpolation as they are hardly noticeable with a significant increase of performance.
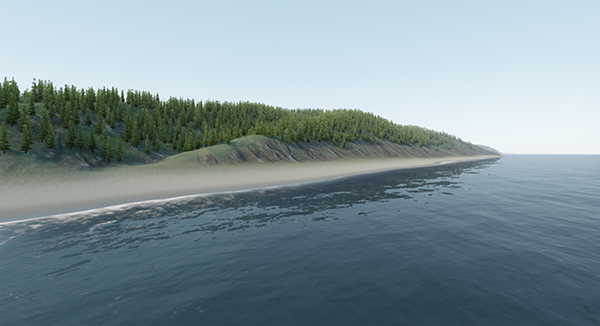
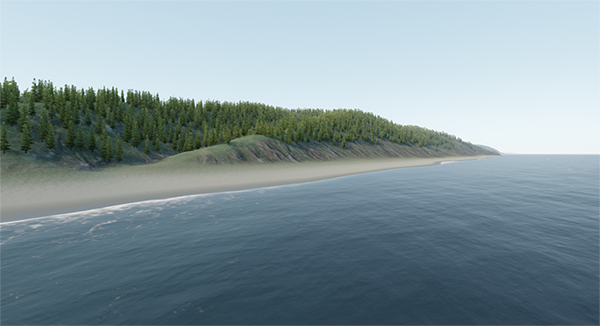
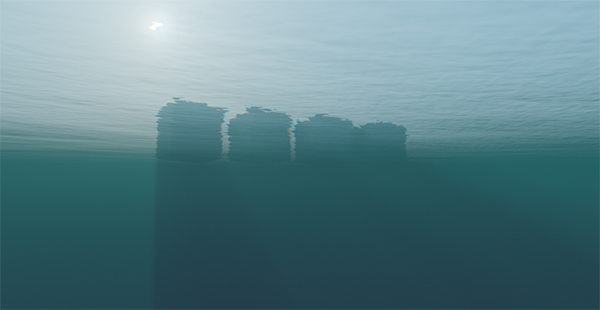
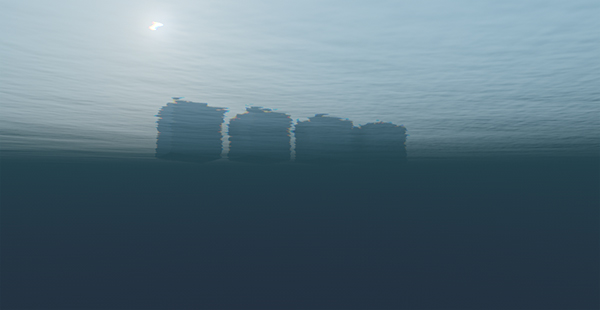
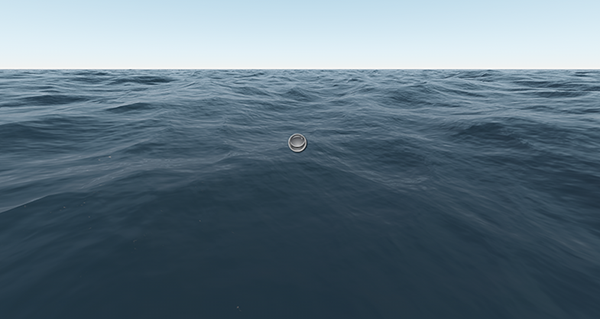
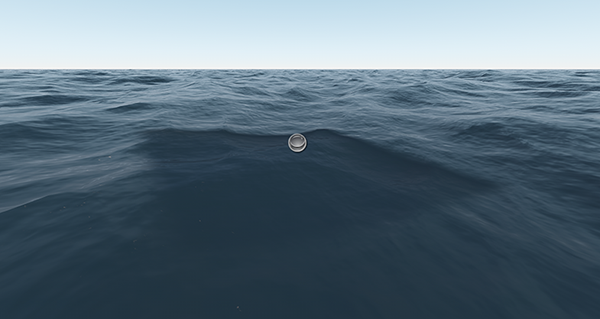
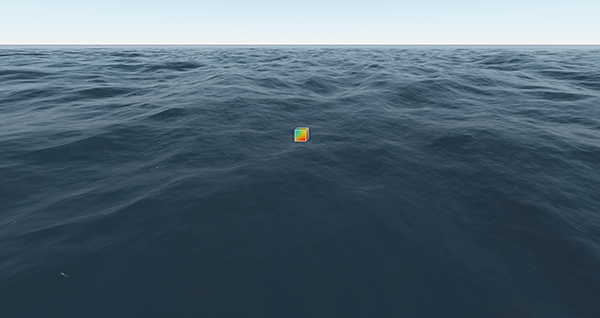
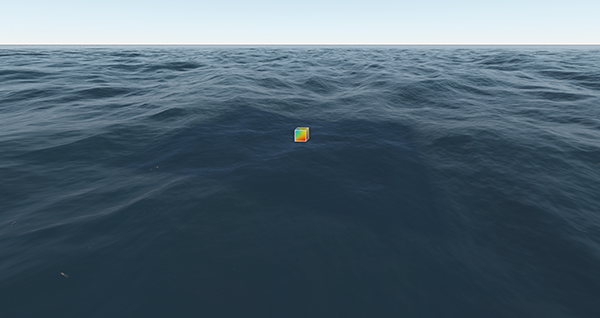
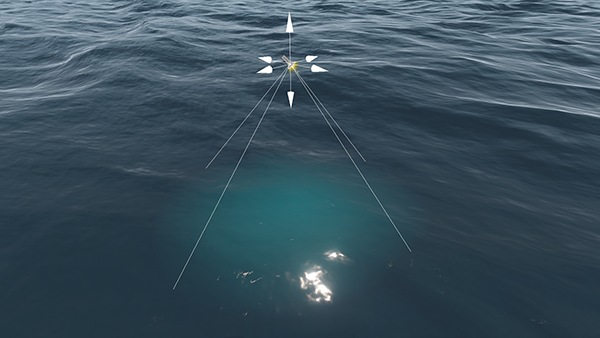
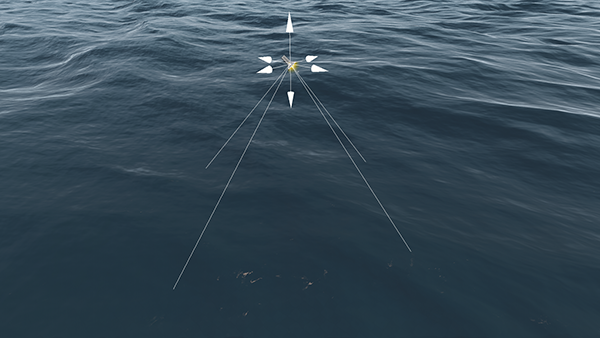
As you can see, there is almost no visual difference between shorelines on the pictures above.
Setting Up Water Parameters#
The Global Water provides several parameters that can also affect the water performance:
- Steepness Scale affects the sharpness of the wave crests. The waves look more realistic, however, you can disable this effect if the water is observed from the large distance.
- Underwater DOF provides the DOF effect for underwater and overwater splice. It can also be disabled, if the camera never gets under the water.
- Caustics enables rendering of light rays refracted by the water surface. It can be disabled, if the effect isn't required.
- Caustics Distortion smooths caustics. It is available only when the Caustics is enabled for the water. If smoothing isn't required, the option can be disabled to gain the performance.
Optimizing Planar Reflections#
The Global Water object allows you to use planar reflections on the water surface.
However, planar reflections of a high resolution may significantly reduce the performance. So, you can try to lower the size of the planar reflection map: in the Planar Reflection section of the Parameters, specify the appropriate value for the Map Size.

However, remember that reflections of a low resolution rarely provide the expected visual result.
You can also use reflection mask to control rendering of the planar reflections into the camera viewport. For example, you can render only certain planar reflections, and the other ones replace with screen space reflections.
Culling Optimization#
The polygons of the Global Water surface are subject to frustum culling optimization. If a polygon falls out of the camera frustum (i.e. its screen position is outside the viewport bounds), it is culled out for rendering. In the Water section of the Settings window you can enable the Aggressive Frustum Culling mode that implies more strict requirements for polygons to be rendered and, therefore, higher performance.

Tweak the Culling settings for more optimizations:
- Decrease the Culling Frustum Padding to lower the size of the viewing frustum.
- Increase the Culling Oblique Frustum multiplier to cull out more polygons beyond the oblique frustum plane.
The information on this page is valid for UNIGINE 2.19 SDK.
