Panoramic Rendering
With panoramic rendering you can get impressive 180 or even 360 degree panoramas on one monitor. To increase the total resolution of the rendered image, this viewport can be spanned across several monitors, if required.
Panoramic Rendering Modes#
The following rendering modes are supported:
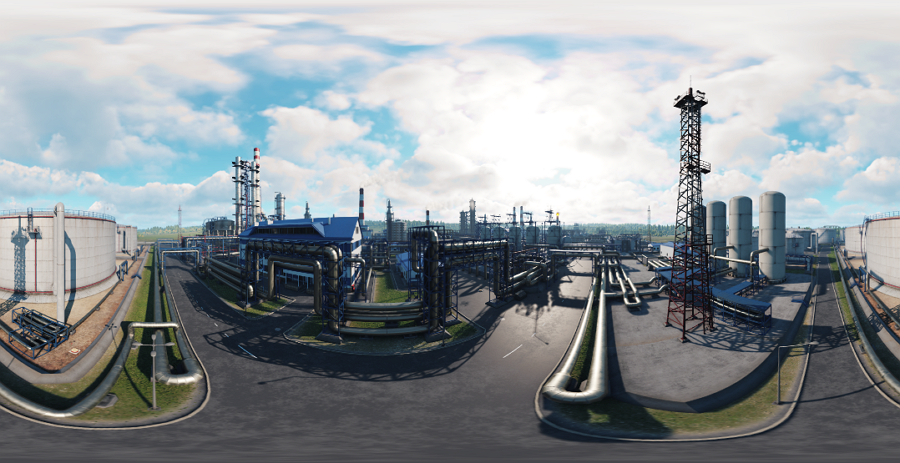
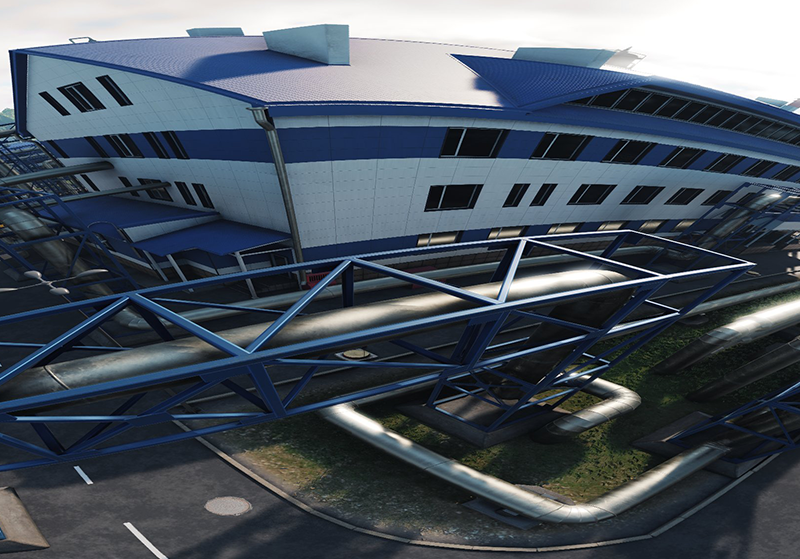
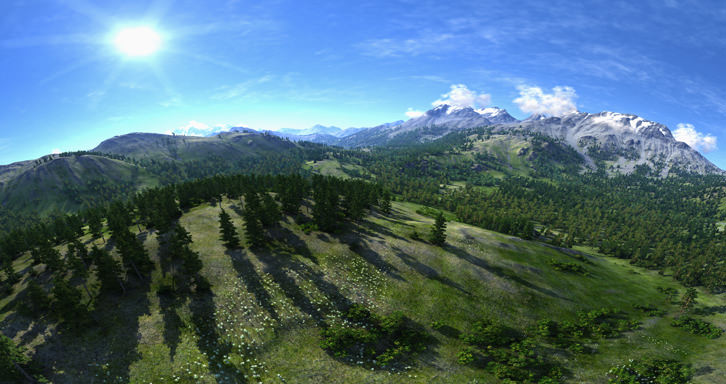
- 180 or 360 degree panorama with curved edges
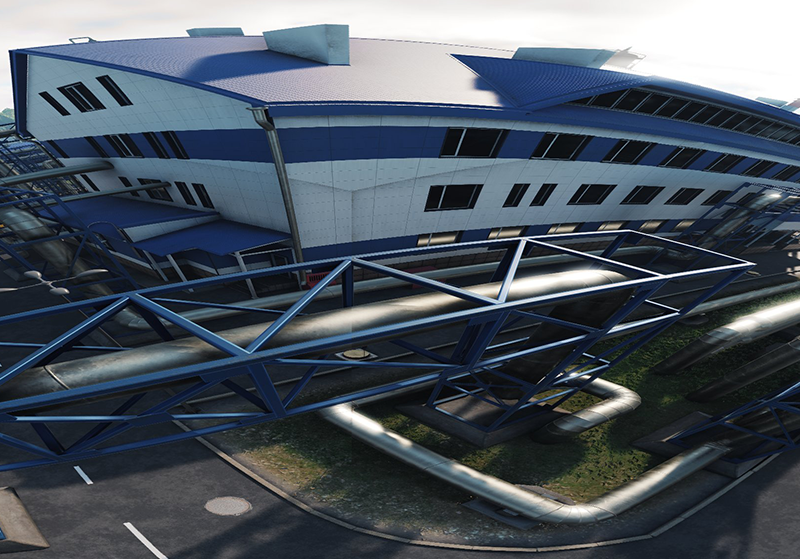
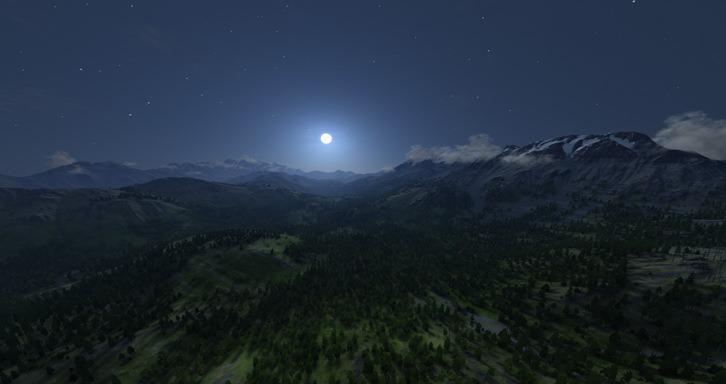
- 180 or 360 degree linear panorama without distortion at the edges
- Orthographic fisheye panorama with an adjustable field of view
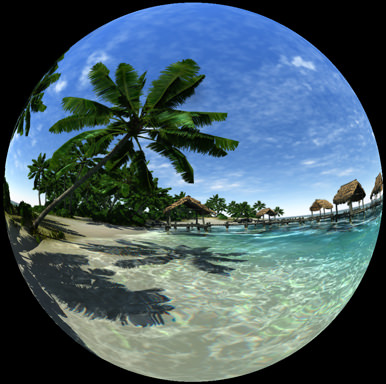
- Equidistant (tru-theta or f-theta) fisheye panorama with an adjustable field of view
- Stereographic fisheye panorama with an adjustable field of view
- Equisolid (equal-area) fisheye panorama with an adjustable field of view
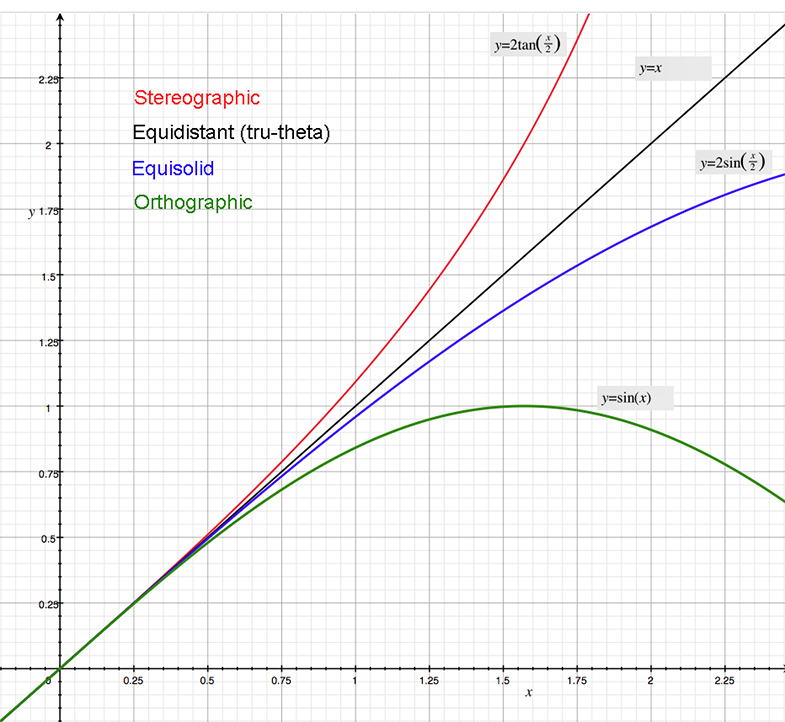
The horizontal axis on the chart above is the angle (radians) of incident light on the lens where 0 degrees is along the lens axis. The vertical axis is proportional to the radius on the fisheye image where that light exits the lens.
Curved Panorama#
Linear Panorama#
Fisheye#
How Panoramic Rendering Works#
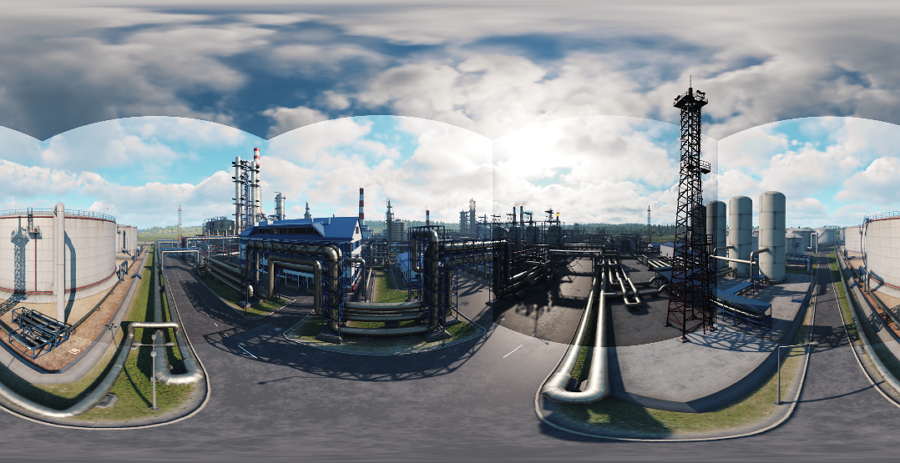
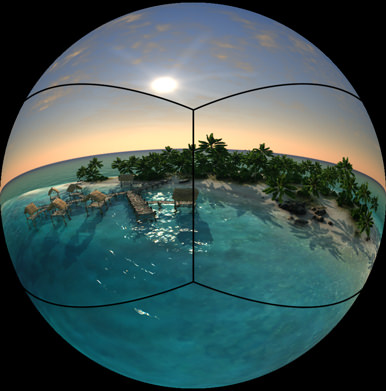
During panoramic rendering 4 viewports are seamlessly stitched into one for extra-wide field of view. Images are overlapped and blended along the border shown below.
Enabling Panoramic Rendering#
To enable panoramic rendering for your application, open the console and run the render_viewport_mode command with the required panoramic mode (1-8). For example, to enable 180 degree panorama with curved edges:
Unigine~# render_viewport_mode 1It is impossible to use panoramic rendering with:
- Multi-monitor plugins (SpiderVision, Surround)
- Stereo 3D
When panoramic rendering is enabled, the camera's Field of View option is not applicable.
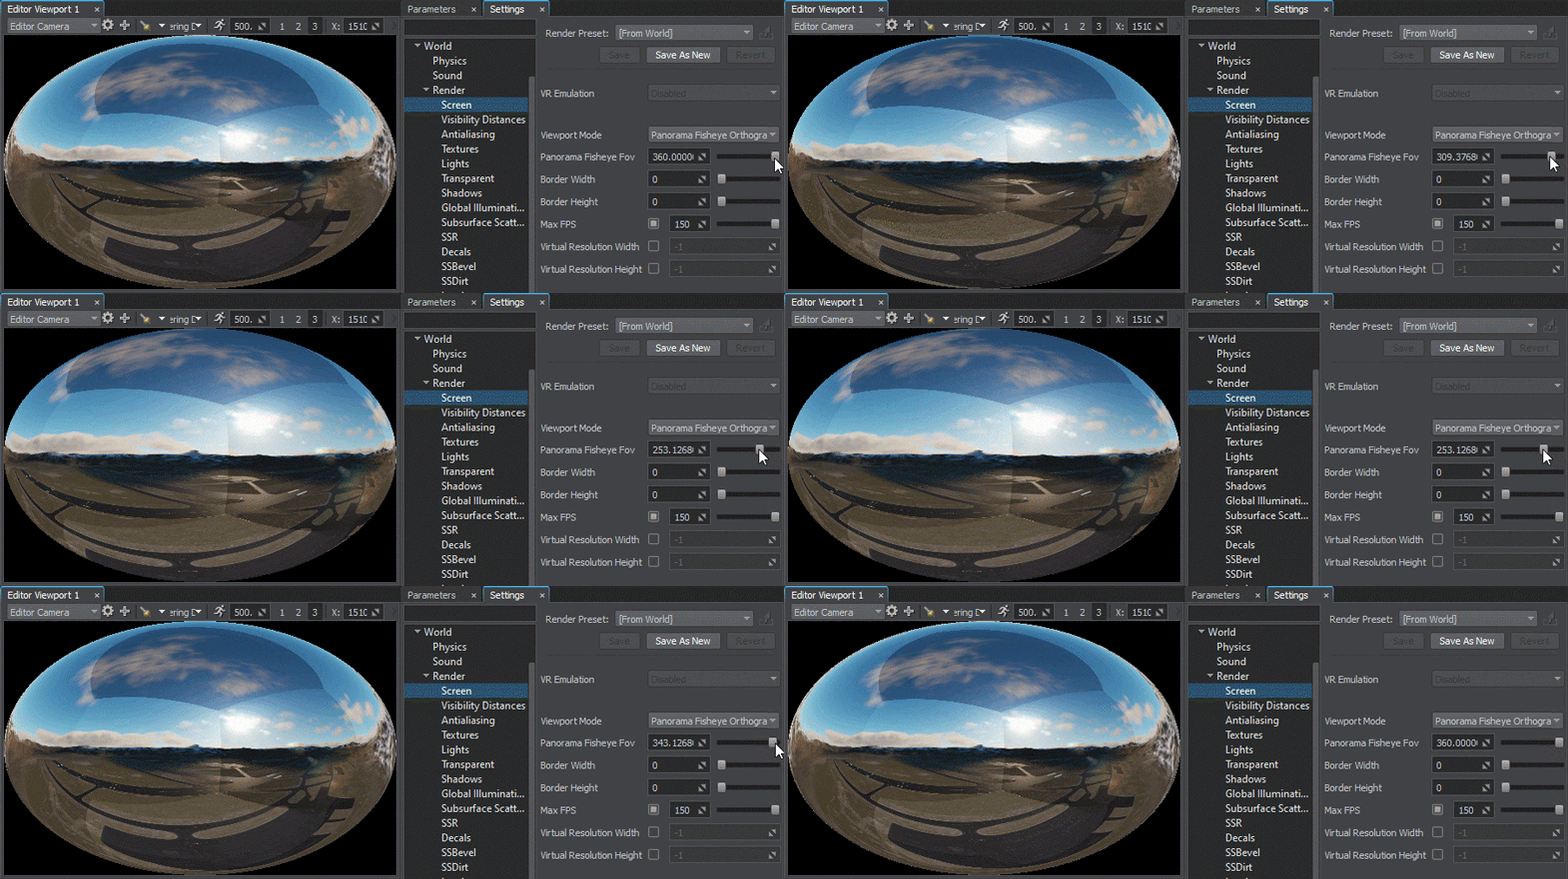
To adjust FOV for fisheye panoramic rendering modes, select one of the Fisheye modes and set the desired Panorama Fisheye FOV via the Screen Settings or using the corresponding console commands:
Unigine~# render_viewport_mode 7 render_panorama_fisheye_fov 30Multi-Monitor Mode#
It is also possible to span panorama across several identical monitors (only) in the fullscreen mode without decorations. For that, you need to specify on the start-up:
- The summed resolution of two displays (for example, for two 1280x1024 displays, that would be 2560x1024)
- video_fullscreen 2
For example (do not forget to specify other required start-up options):
main_x64.exe -video_mode -1 -video_width 2560 -video_height 1024 -video_fullscreen 2

Seamless Panoramic Output#
Most screen-space effects and camera-based adjustments are not compatible with panoramic rendering as several independent cameras are used simultaneously. Here are the basic recommendations for creating better panoramas:
- Select the Static Exposure Mode in the Camera Effects and adjust the Exposure value:
- You might also need to disable Lens Flares from light sources and Camera Glare Effects, such as Bloom;
- The Auto White Balance feature can also make edges visible, so it is recommended to disable it as well;
-
Screen-space post effects, like SSR, SSRTGI, SSDirt, SSBevel, and others, are also often a reason for noticeable artifacts.
The Render Border feature is capable of reducing some artifacts introduced by screen-space effects. Adjust the Border Width and Height values to enable rendering outside the screen bounds for each viewport and eliminate subtle artifacts from these effects.
- Shading issues are inevitable for Billboards and billboard-based Particle Systems.
The information on this page is valid for UNIGINE 2.19 SDK.
