Texture Editor
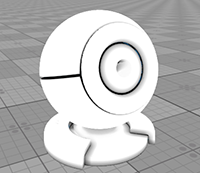
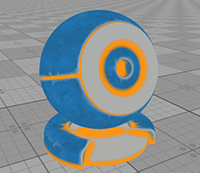
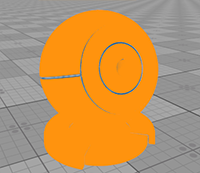
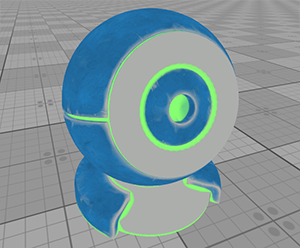
Texture Editor allows painting textures of the materials applied to objects directly in the scene. It is mainly used for painting masks, but also helps editing the existing textures: adding details or fixing mistakes. Moreover, the Texture Editor allows creating a new surface custom texture and paint it from scratch.
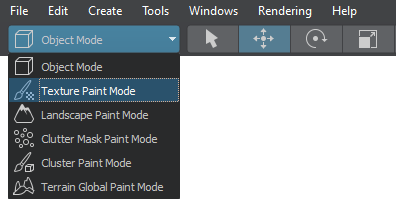
The Texture Editor is available when the Texture Paint Mode is selected on the toolbar:
The Active Tool window provides access to the tools of the Texture Editor:
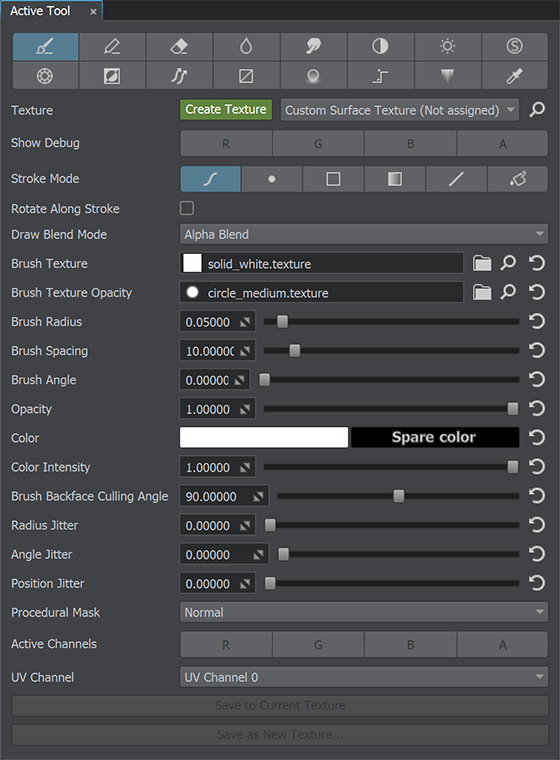
Painting Texture with Texture Editor#
Painting Existing Texture#
To edit a texture via the Texture Editor, do the following:
- Select an object, a texture of which should be edited.
-
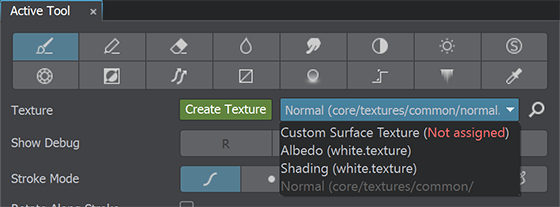
In the Texture field of the Texture Editor, choose the required texture in the drop-down list.
-
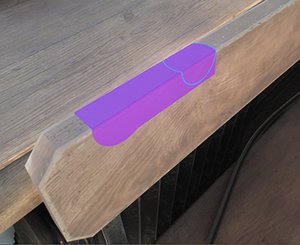
Paint directly on the object using the available tools.
NoticeWhen painting, the original asset is edited.
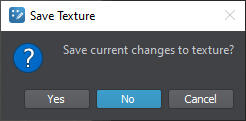
To undo all changes, select another object in the scene and decline saving changes in the window that opens:
Painting New Surface Custom Texture#
The Texture Editor allows creating a surface custom textures for static meshes.
To create such texture, do the following:
- Select a surface of a static mesh for which you want to create a texture.
-
In the Texture field of the Texture Editor, click Create Texture.

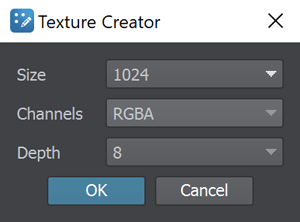
In the Texture Creator window that opens, specify the Size, Channels and Depth for the new texture and click OK.
Then specify the texture name and save it.
The new texture will be automatically applied to the selected surface. Go to the Surface Custom Texture section of the Parameters window to check it.
- In the Texture field of the Texture Editor, choose Custom Surface Texture in the drop-down list.
Paint directly on the surface using the available tools.
NoticeWhen painting, the original asset is edited.
Saving Changes#
To save changes, choose one of the following options:

If you choose Save as New Texture..., specify a name and a texture format in the dialog window that opens.
Tools#
The following tools are available:
 Brush tool (B hotkey) allows painting arbitrary shapes on the texture.
 Pencil tool allows painting hard-edged texels on the texture.
 Eraser tool (E hotkey) removes changes.
 Smooth tool (V hotkey) blurs texels of the texture.
 Smudge tool smudges the texture.
 Contrast tool changes the texture contrast.
 Brightness tool changes the texture brightness.
 Saturation tool changes intesity of the texture colors.
 Replace Color tool replaces all texture colors with the specified one.
 Invert tool inverts texture colors.
 Draw Flowmap tool allows painting a flow map.
 Draw Mesh Data tool allows drawing textures that store mesh data (positions, mesh normals).
 Ambient Occlusion tool allows drawing an ambient occlusion texture.
 Curvature tool allows painting a curvature texture.
 Leaks tool allows painting leaks.
 Color Picker tool allows picking a texture color.
Common Settings#
Depending on the selected tool, a set of available settings varies. However, there are settings common for most of the tools:
| Texture | Texture to be edited. | ||||||||||
|---|---|---|---|---|---|---|---|---|---|---|---|
| Show Debug | Show per-channel changes. | ||||||||||
| Stroke Mode |
Notice
The set of tool settings changes depending on the Stroke Mode. See the Stroke Mode Specific Settings chapter for details. |
||||||||||
| Rotate Along Stroke |
Orients the brush marks to follow the stroke direction.
|
||||||||||
| Brush Texture |
Texture that defines shape of the brush.
|
||||||||||
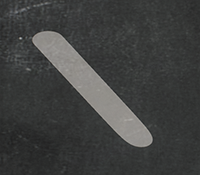
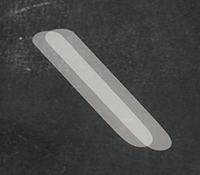
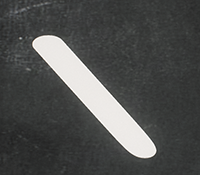
| Brush Texture Opacity | 1-channeled opacity texture that controls application of the Brush Texture. White areas of the texture make the corresponding areas of the Brush Texture fully visible, black ones make them fully transparent. | ||||||||||
| Brush Radius |
Radius of the brush. Notice
You can change the brush radius by scrolling the mouse wheel.
|
||||||||||
| Brush Spacing |
Distance between the brush marks in the stroke, in percent. 0 means the brush mark is drawn each frame (i.e. no spaces).
|
||||||||||
| Brush Angle |
Angle of the brush marks, in degrees.
|
||||||||||
| Opacity |
Strength of the brush. Higher values create more opaque bush strokes. Multiple applications of the brush with low opacity to the same place create a more opaque image. It can be used for drawing smooth gradients.
|
||||||||||
| Color | Color of the brush. You can specify the Main and the Spare color and switch them by pressing X when painting the texture. To pick a texture color, press C or click the Pick Screen Color button in the Select Color window and sample the color. | ||||||||||
| Color Intensity |
Intensity of the brush color. It allows changing shades of the same color: the lower the value, the darker the result.
|
||||||||||
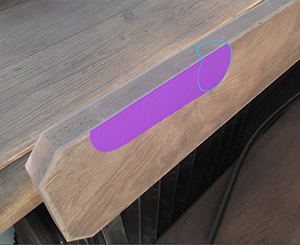
| Brush Backface Culling Angle |
Normal angle at which the surface is ignored by the brush. It allows you to avoid painting across certain surfaces.
|
||||||||||
| Radius Jitter |
Random radius of the brush marks in the stroke. 0 means no randomness.
|
||||||||||
| Angle Jitter |
Random rotation angle of the brush marks in the stroke (in degrees). 0 means no randomness.
|
||||||||||
| Position Jitter |
Random position offset of the brush marks in the stroke (in units). 0 means no randomness.
|
||||||||||
| Procedural Mask |
Limits brush application to a certain area:
Painting the cavity/convex area can be useful when, for example, you need to paint a cavity/convexity mask for a huge building. |
||||||||||
| Active Channels | Channels that are modified when painting the texture. | ||||||||||
| UV Channel |
UV channel that is used when painting the texture.
There are no specific requirements for the number of UV channels — you can have either one or both. Just make sure to choose the correct channel when painting: you should know in advance which UV channel the texture will use. For example, if a mask for blending materials uses 2nd UV channel, you will choose UV Channel 1 when editing this mask. Notice
Painting the texture using both channels will produce the incorrect result. By default, textures use the 1st UV channel. If necessary, you can change it in the material via the Material Editor. If you want to use the 2nd UV channel when painting, but it is empty, you can perform automatic unwrapping for this channel when importing the model into UNIGINE. |
Stroke Mode Specific Settings#
The Rectangle and Linear Gradient stroke modes have additional specific settings described below.
| Depth Limit | Depth limit for filling areas of the object that are not visible in the current viewport (i.e. occluded by other objects). | ||||
|---|---|---|---|---|---|
| Depth Limit Gradient Length | Size of the gradient along the edges of the filled area. | ||||
| Rectangle Texture |
Texture that fills the selected rectangular area. Available for the Rectangle mode only.
|
||||
| Rectangle Texture Opacity | 1-channeled opacity texture that controls application of the Rectangle Texture. White areas of the texture make the corresponding areas of the Rectangle Texture fully visible, black ones make them fully transparent. |
The information on this page is valid for UNIGINE 2.19 SDK.
 Brush — draw a stroke of brush marks.
 Stamp — draw a sigle brush mark.
 Lasso — fill the selected rectangular area with a specified color. By default, areas of the object that are visible in the current viewport are filled.
 Gradient — draw a linear gradient.
 Line — draw a line. It can be used, for example, to align edges of a mask.
 Fill — fill the texture with a specified color.