Basic Operations in Tracker
The article describes the basic operations that can be done in the Tracker.
Creating a Track#
To create a track with key frames to animate a parameter (render setting, node or material parameter, etc.):
- Choose Tools -> Tracker in the Main Menu to open the Tracker.
- Click
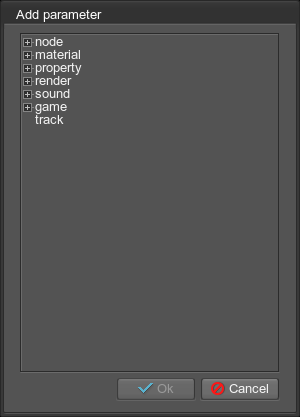
 to add a track that will animate some parameter. The Add Parameter window will open.
-
Choose a parameter in the list.
-
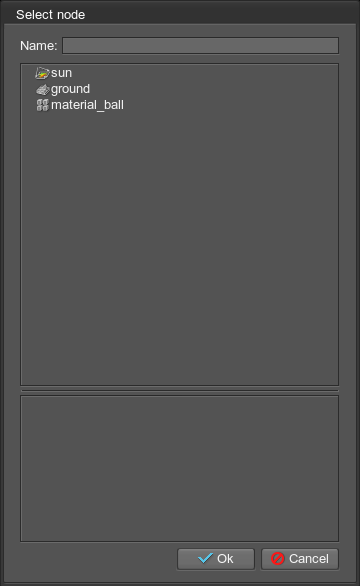
If a track animates some node, material setting or a property parameter, etc., bind this track to it via the Select Node window that opens.
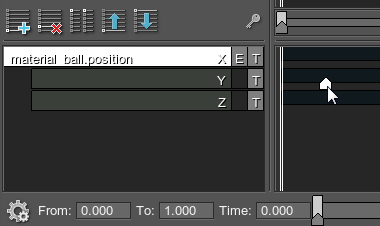
Create the required number of key frames by clicking the track line or the graph.
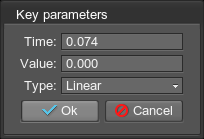
Double-click the created key frame to set or change its value. Here, you can also set a transition mode for values.
Check all available ways of key frame editing.
Saving and Loading a Track#
To save a track to a .track file, click Save and specify a track file name in the dialog window that opens.
To load the previously saved track, click Load and choose the track file in the dialog window that opens.
Playing Animation#
- To play animation once, click
 in the bottom right corner of the Tracker.
 - To play animation in a loop, click
 .
.
 should be toggled on).
Setting Playback Range#
After the track is created, set up the time of animation playback. It would be a common parameter for all tracks in the Tracker.
- Click
 to open time settings.
 - Set the playback range that specifies duration of the track playback.
- Set the playback speed.
The playback range can be additionally limited (for example, to avoid playing the whole created track, when only one parameter change needs to be tested). There are two ways for that:
- Set the From - To range. For example, in the picture below the track will be played only for 0.5 units.
-
Drag sliders at either edge of the animation playback line (the same playback line can also be found under the graph):

Operations on Key Frames#
Creating a Key Frame#
There are two approaches to working with key frames:
- Create the required number of key frames and then edit its values by means of the Tracker only.
- In UnigineEditor, tweak the parameter that is animated and add a new key frame based on it: the value of such key frame will be automatically set to the current value of the parameter.
Creating a Key Frame by Means of Tracker Only#
To create a key frame, click the track line:

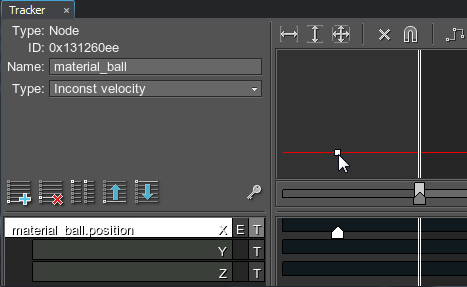
If there is a graph for the current track, you can create a key frame by clicking directly on the graph:
Creating a Key Frame from Editor Parameter#
After the parameter is added to the Tracker to be animated, a track controls its value. You cannot change it in UnigineEditor while the track is enabled. In order to tweak such parameter in UnigineEditor and after that add a new key frame based on it, perform the following:
- Disable the track with the target parameter by pressing

- Change the parameter by means of UnigineEditor.
-
Create a key frame in the Tracker:
-
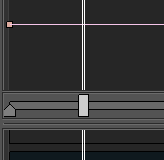
Set the time slider in the position where a key frame should be created.
- Select the track with the parameter and click
 .
.
-
- Enable the track again and play the animation.
The value of the added key frame can be edited by means of the Tracker.
Editing a Key Frame#
To change the value of the created key frame, use one of the following ways:
- Double-click it and specify the required value in the Value field of the window that opens.
- Select the key frame and specify the value in the Value field on the upper panel of the Tracker.
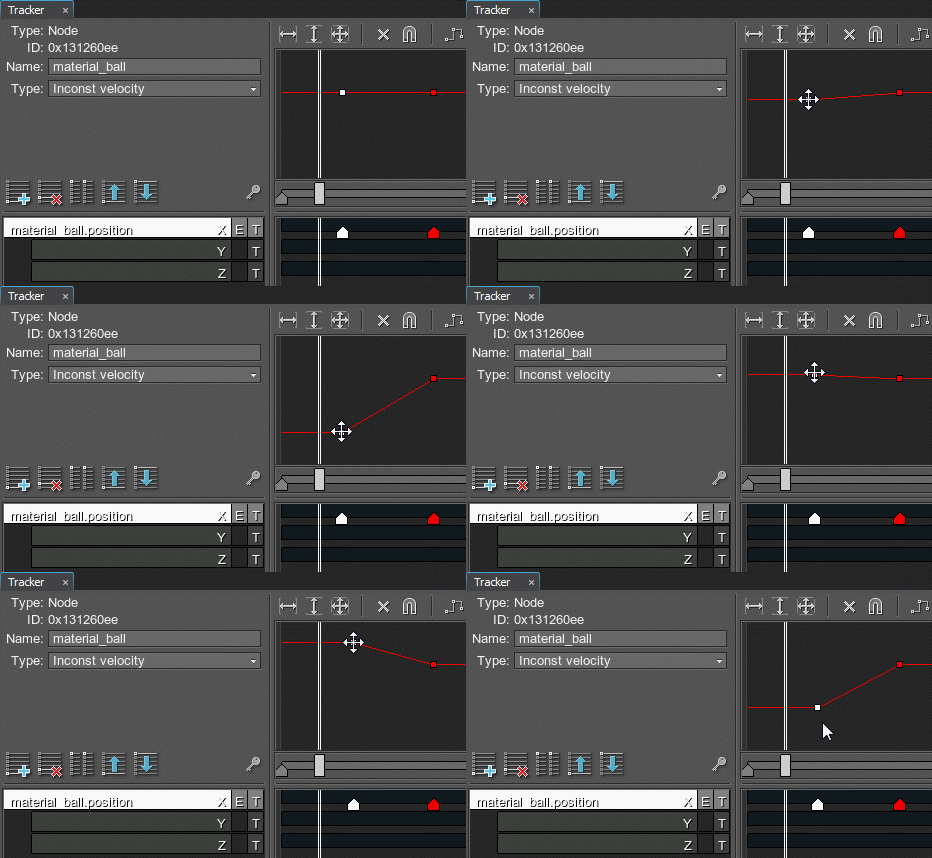
- Move the selected key frame along the track line to increase or decrease the value.
If there is a graph for the track, move the target key frame point up to increase the value, or down to decrease it.
Selecting a Key Frame#
To select a single key frame, simply click it on the track line or on the graph. It will be highlighted white.
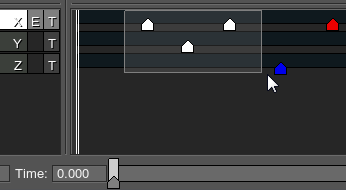
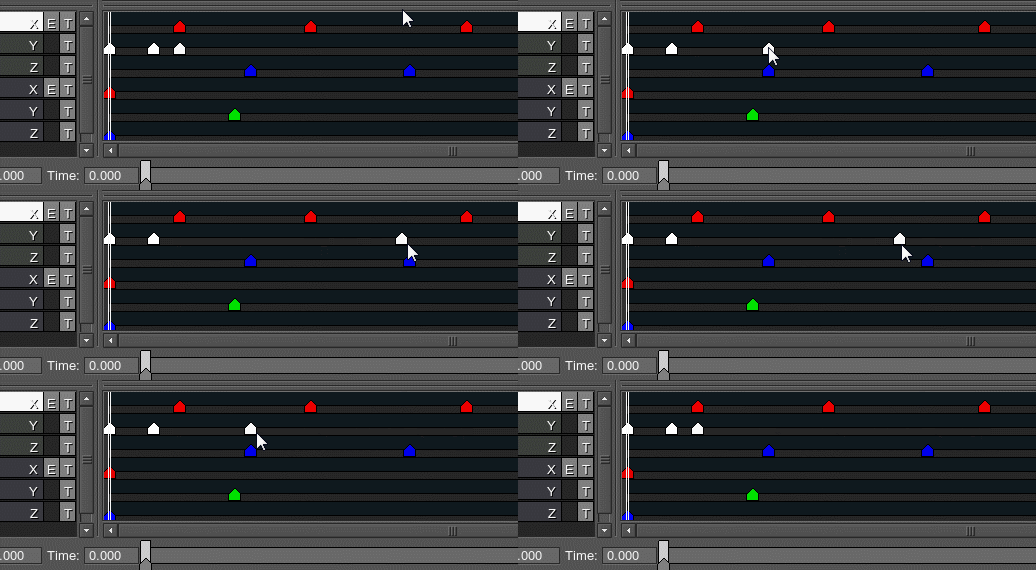
To select several key frames, use the selection box: click and hold the left mouse button, drag the mouse to select multiple key frames (either on the track line or on the graph):
Also, you can press and hold Ctrl and select the required key frames one by one.
Tracker supports multi-selection editing of key frames: you can select multiple keys and set Time on the track or Value for several parameters simultaneously.
Cloning a Key Frame#
To clone the selected key frame (or multiple keys), press and hold Shift while dragging the key frame on the track line or on the graph.
Snapping to Other Key Frames#
To snap the key frame to key frames on other tracks, hold Alt while moving it along the track line. Snapping mode can also be turned on by pressing  on the upper panel.
Deleting a Key Frame#
To delete a key frame, select it on the line and drag the mouse upwards.
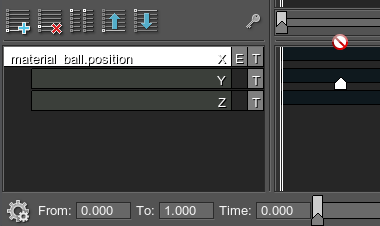
The other ways to delete the key is to click  or press Delete.
Operations on Graphs#
For parameters with values, you can also enable the tracker graph by clicking  to the right of the parameter in the tracks list.
The graph allows editing key frames as well as the track line. It also displays the transition mode set for the key frame.
- To change the graph arrange mode, use the special icons.
- To move around the graph, hold the middle mouse button while dragging it.
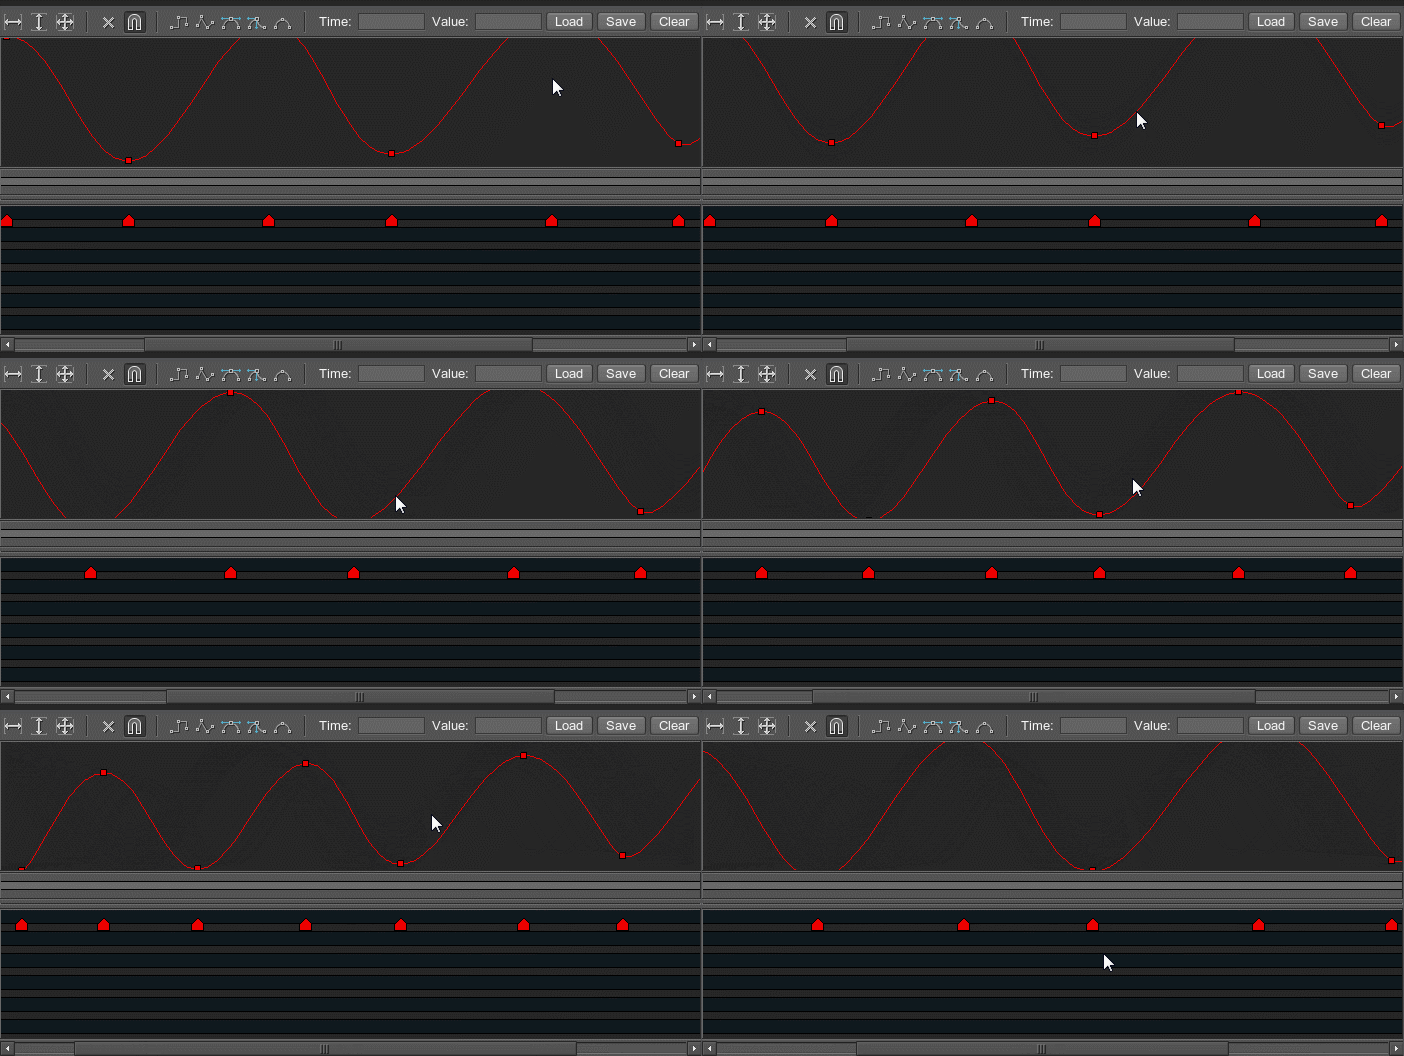
- To scale the graph, hold the right mouse button while moving the mouse up or down. At that, the tracks list will also be scaled.
The information on this page is valid for UNIGINE 2.19 SDK.