Setting Up the Project
Let's create a new project for our game and set up a level world with a camera view.
Step 1. Download Assets and Create the Project#
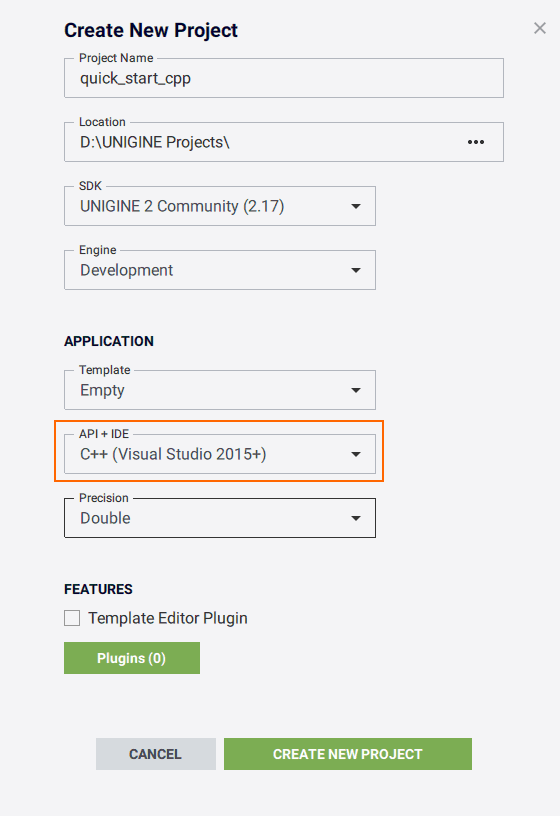
- Create a new empty C++ project. Open the SDK Browser, go to My Projects tab and click the Create New button.
-
Make sure to select C++ (Visual Studio 2022) in the API + IDE list of the Application section and click Create New Project.
-
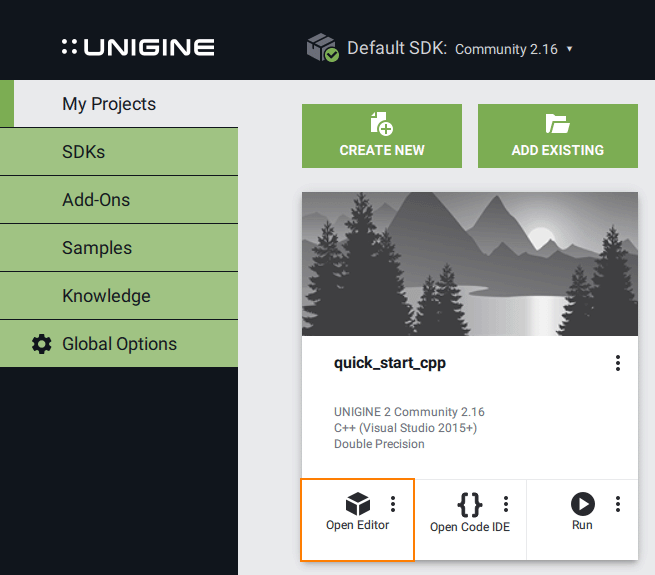
After the new project is created it will be added to the My Projects tab. Click Open Editor under the created project to open it in the UnigineEditor.
-
Download the Docs Sample Content add-on from Add-On Store at https://store.unigine.com/ and add it to the project by dragging into the project data/ folder in the Asset Browser. In the Import Package window that opens, click the Import Package button and wait until the add-on contents are imported.
See Also
For more details refer to the following topics:
- Project Workflow article to learn key information on the workflow stages for developing a project with UNIGINE.
- Programming Overview article to learn about the execution sequence and the ways of creating projects in Unigine.
- Creating C++ Application article to learn about creating a C++ project in Unigine.
Step 2. Set Up the Scene#
All objects added to the scene are called nodes. Each node has a position, a rotation, and a scale and some basic functionality, which can be extended with components. There are a variety of built-in nodes in UNIGINE.
The Play Area in the game will be laid out with a lot of identical floor tiles. Visual representation of the floor tile is defined by a plane Static Mesh with a gray material assigned.
So, we make floor tiles as Node References all referring to the single *.node file on a disk.
Before setting up the scene, let's remove the default nodes from the world. Delete the material ball and main player nodes in the default world.
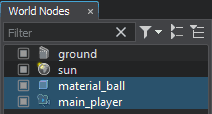
Now, we will create a template for the floor tile and save it as a Node Reference:
-
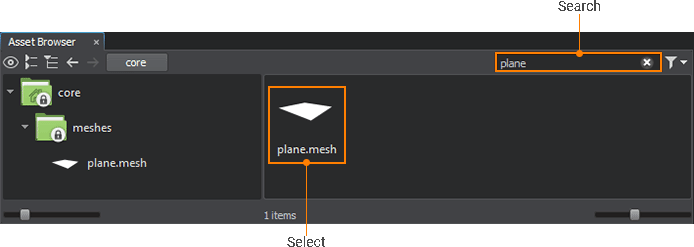
In the Asset Browser, choose the core folder and search for plane.mesh via the Search field. Then drag it to the Editor Viewport to create a new node in the world.
- Select the newly created node in the World Nodes window and rename (F2 hotkey) it floor.
- Choose the data folder and search for the floor_mat.mat material in the Asset Browser. Then drag it over the floor node in the Editor Viewport to assign the material.
-
In the Editor Viewport use the manipulator to adjust the position of the default ground node, moving it slightly below the floor node to avoid z-fighting artifacts.
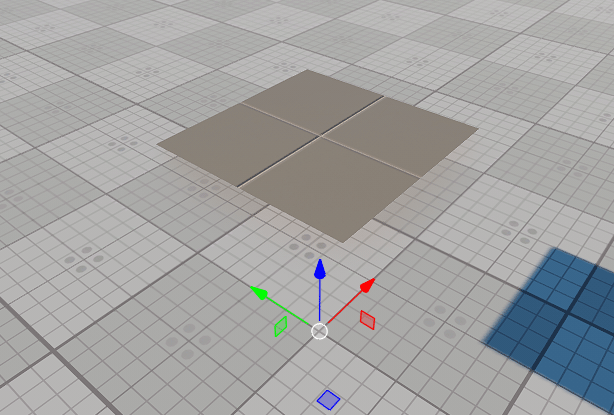
-
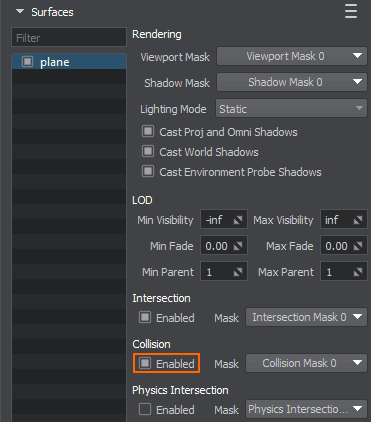
In the Surfaces section of Parameters window check the Collision option for the plane surface to enable collision detection.
- Convert the floor node to Node Reference and save it as an asset on a disk: right-click on the floor node in the World Nodes window and select Create a Node Reference.
See Also
For more details refer to the following topics:
- Creating and Deleting Nodes at Runtime article to learn how to manage nodes via the code.
Step 3. Instantiate Nodes to Finalize the Play Area#
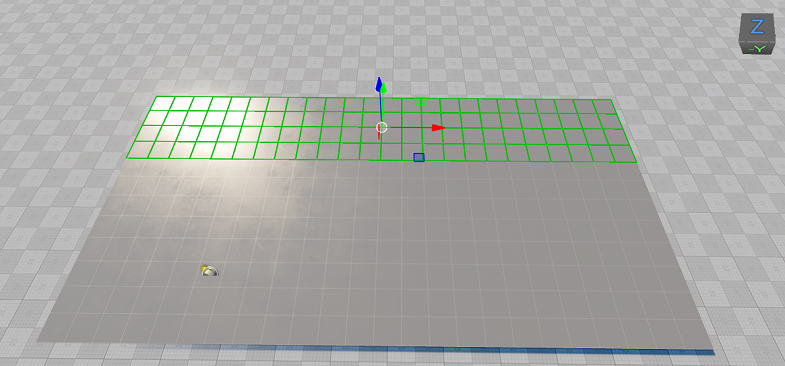
Let's create a grid of floor tiles for the Play Area by instancing Node References. For walls we will use box primitives with the default base material and surface collision enabled to stop the character from going through them.
Let's instantiate more of the floor tiles by duplicating the Node Reference via Ctrl + D hotkeys.
NoticeYou can activate snapping by bound box via Shift + Z hotkeys. Click on the arrow next to the Snap by Grid icon on the Toolbar and choose the By Bound Box option. Select the floor node reference and clone it by holding the Shift key and moving the translate manipulator in the required direction.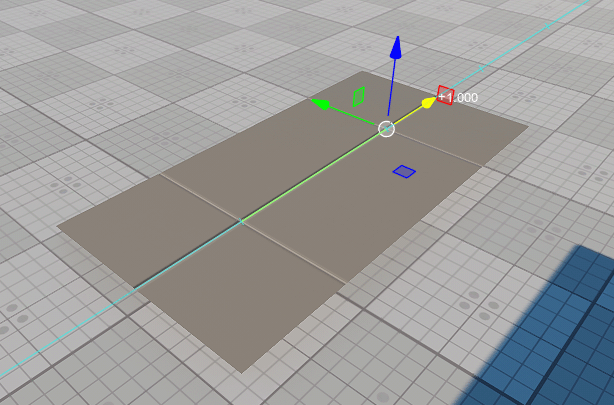 NoticeAlternatively, you can hold the Ctrl key to snap a node to the grid.
-
You can also select multiple nodes in the Viewport or World Nodes window while holding the Shift key and then clone them all at the same time in a group.
-
Create a wall by choosing Create->Primitive->Box and then specify the size in all dimensions. Make sure it resembles a wall and place it on the border of the Play Area.
- To make the wall a collider, select it in the World Nodes window. Then, go to the Parameters window and find the Surfaces section in the Node tab. Select the box surface of the mesh and check the Collision option.
-
Duplicate the primitive with Ctrl + D hotkeys and set up the opposite wall. Create the rest of the walls along the borders of the Play Area the same way.
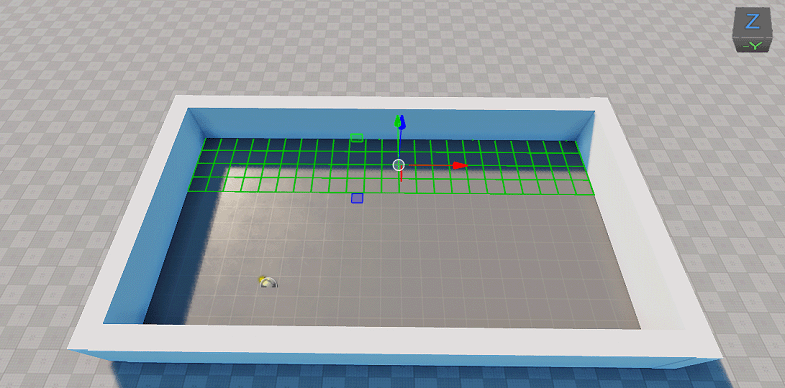
A World Light source (sun) is created for each world by default. So, the scene is lit and walls cast shadows on the ground. You can adjust rotation and other parameters of the light source via the Parameters window.
Alternative way of creating Light Sources via the API is considered here.
Step 4. Create a Player Camera#
In order to see the world through the application window, you need to create a Camera and position it above the Play Area.
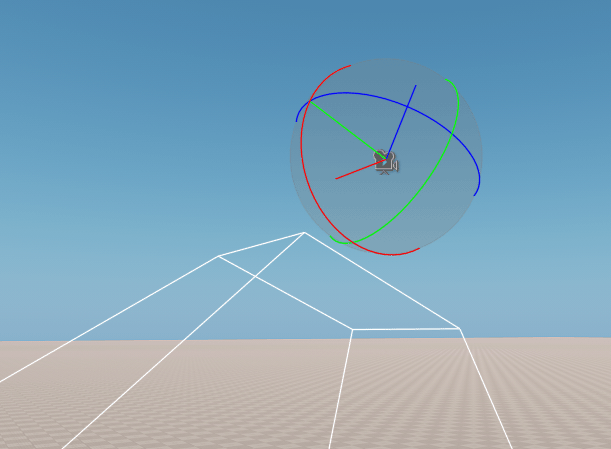
- Add a new Camera via Create->Camera->Dummy, and place it in the world.
-
Adjust position (W hotkey) and rotation (E hotkey) of the PlayerDummy node via the manipulator in the Viewport.
-
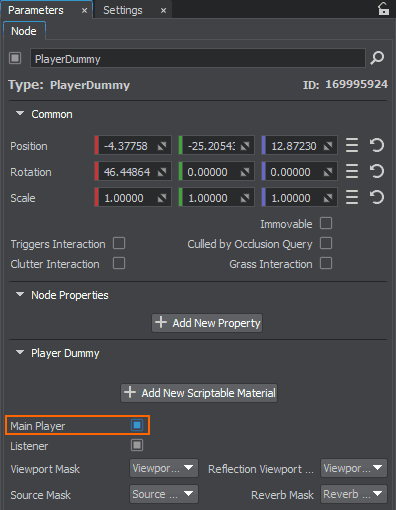
Check the Main Player option in the node's Parameters window to make it the default camera.
Alternative way of creating a camera via the API is considered here.
Step 5. Save Changes and Run the Game#
Now, you can run the game via the SDK Browser.
- To save changes to the world, go to File->Save World or press Ctrl+S hotkey.
-
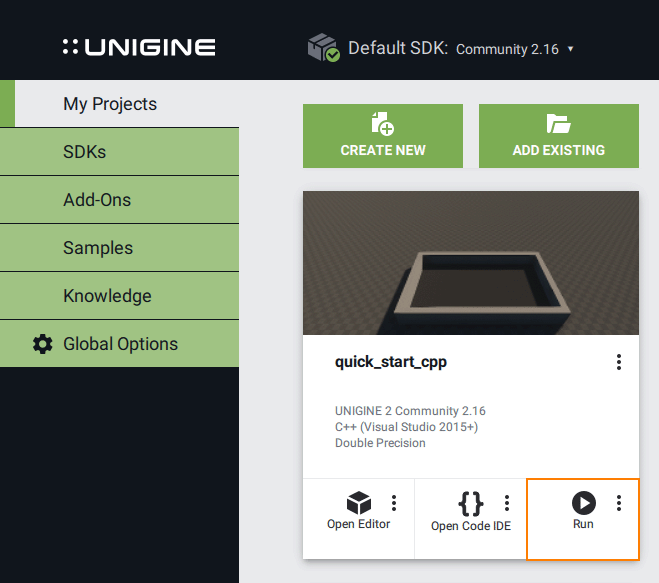
Click the Run button in the SDK Browser to run the game with the scene we've just set up.
The information on this page is valid for UNIGINE 2.19 SDK.